THE CHALLENGE
To develop a tool that enables the capture of cross-polarized images to improve the precision of dental prostheses. The design should make it possible to switch between standard and cross-polarized modes.
To develop a tool that enables the capture of cross-polarized images to improve the precision of dental prostheses. The design should make it possible to switch between standard and cross-polarized modes.

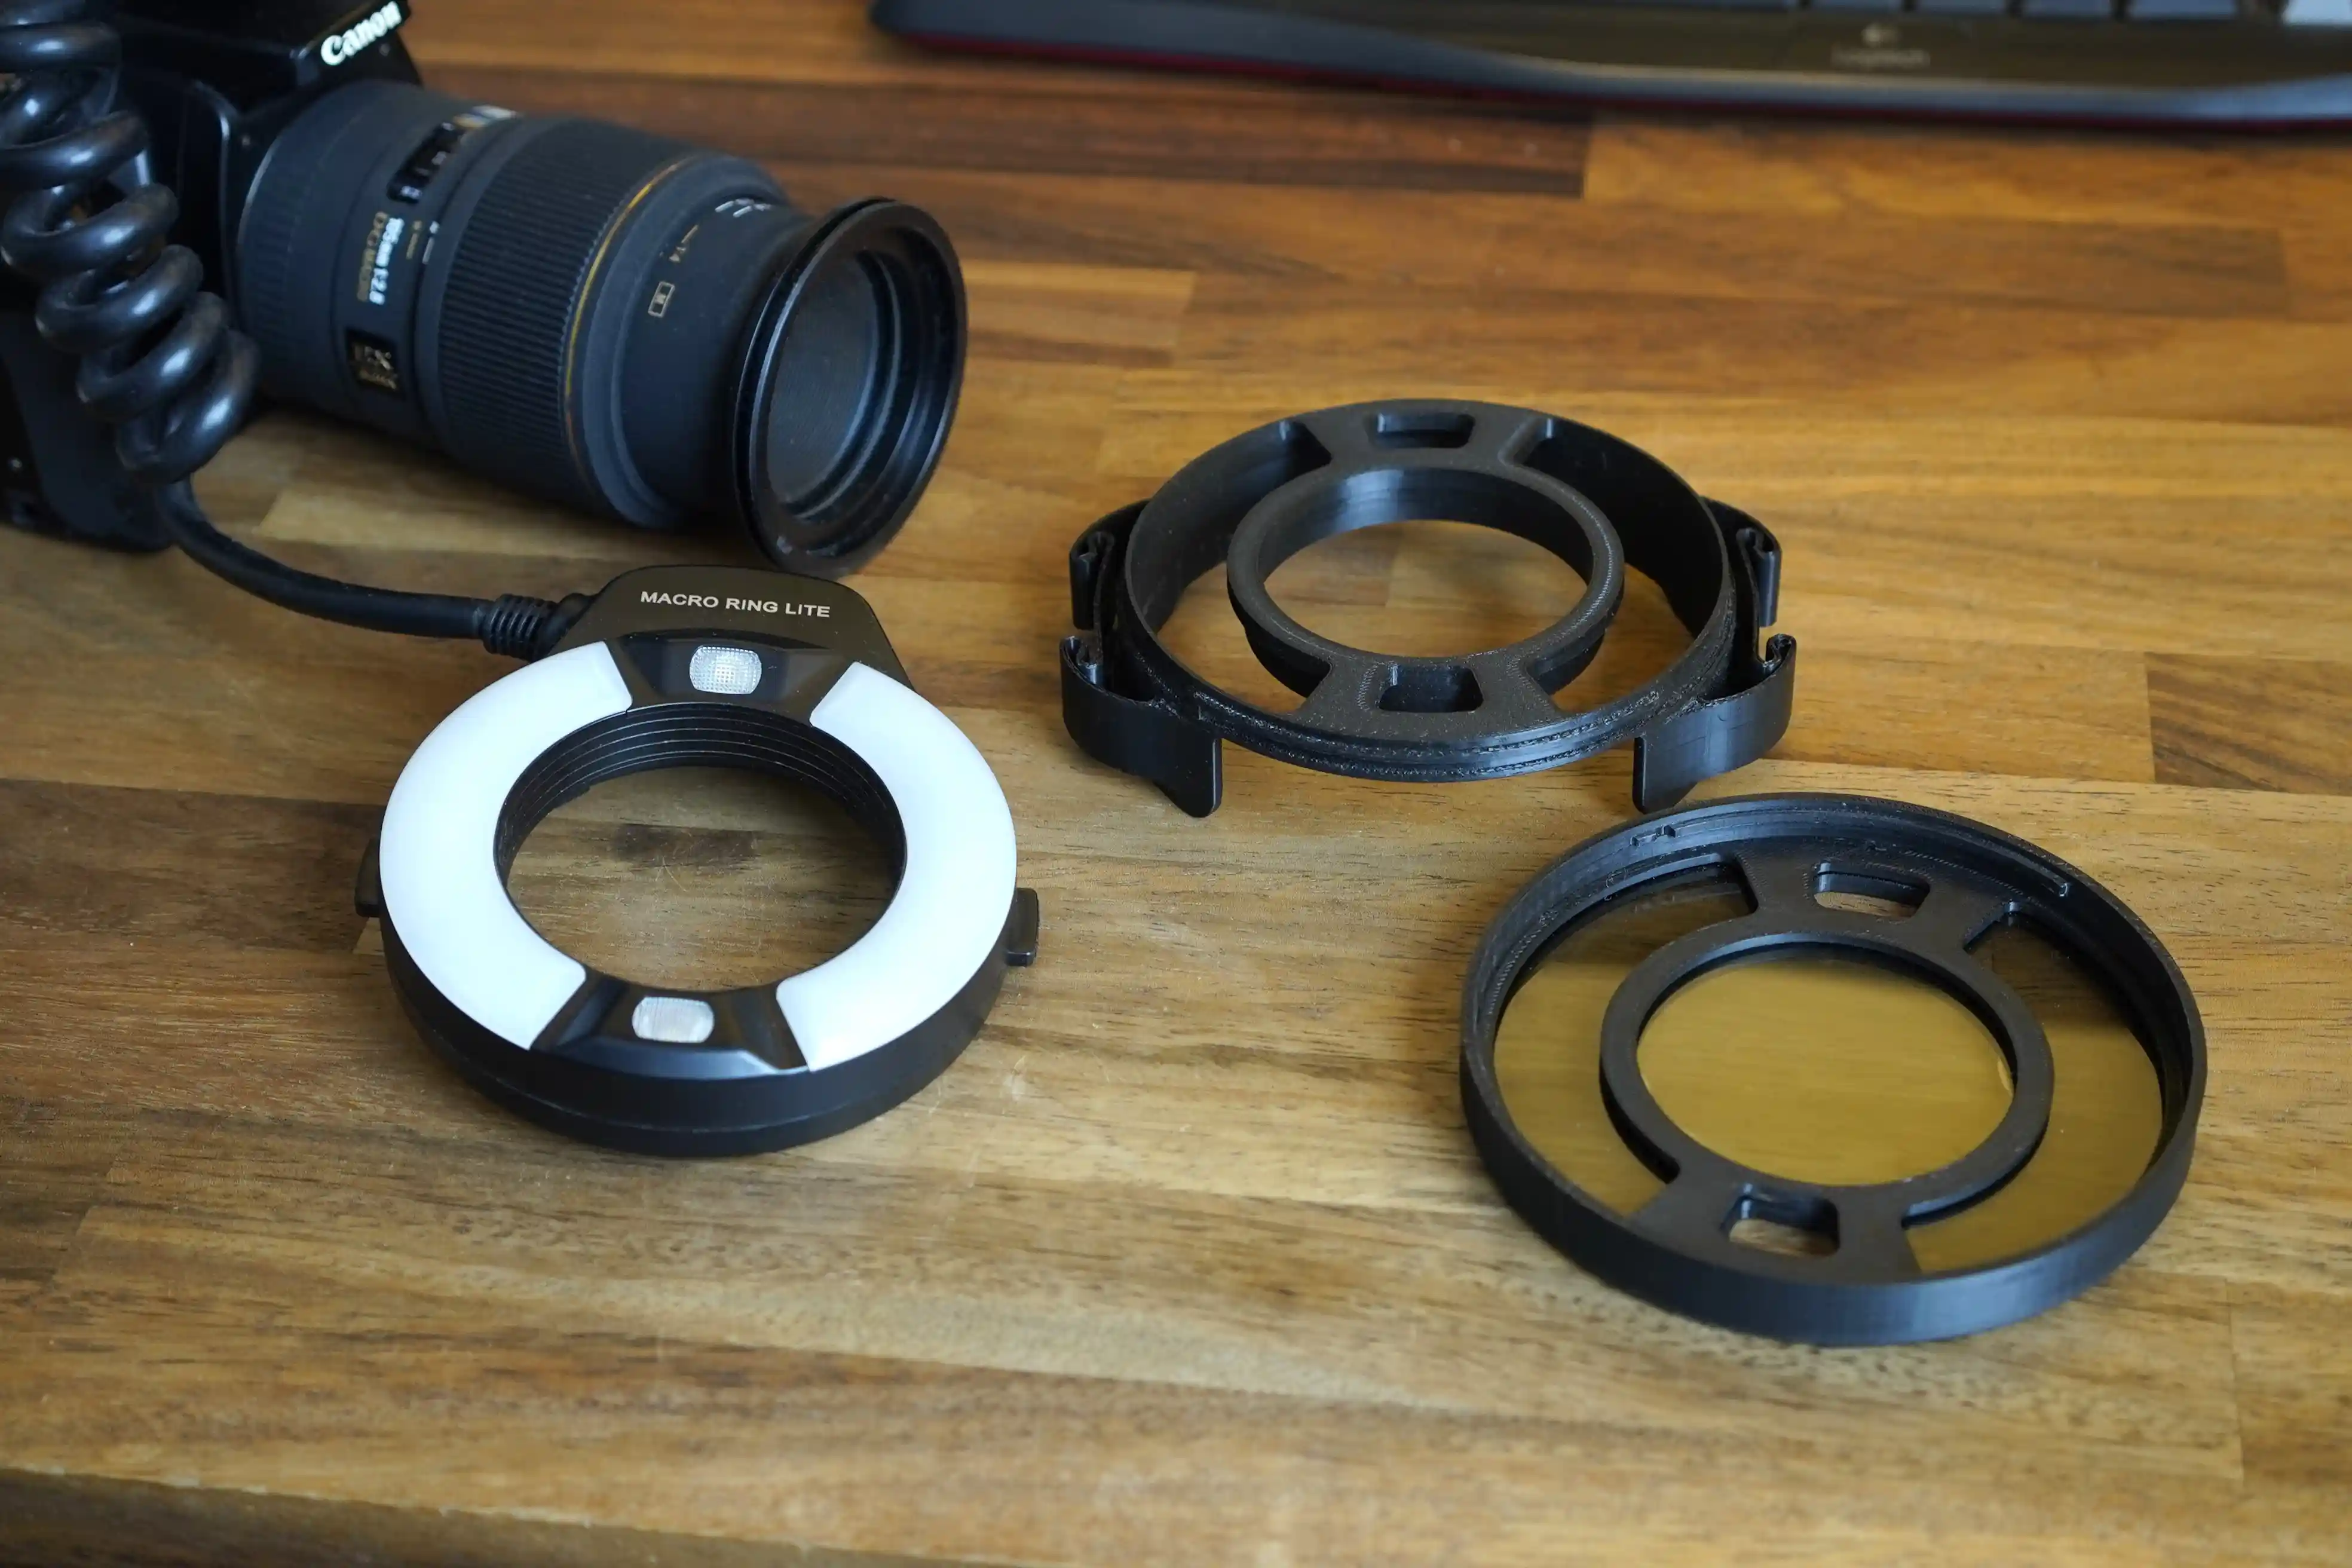
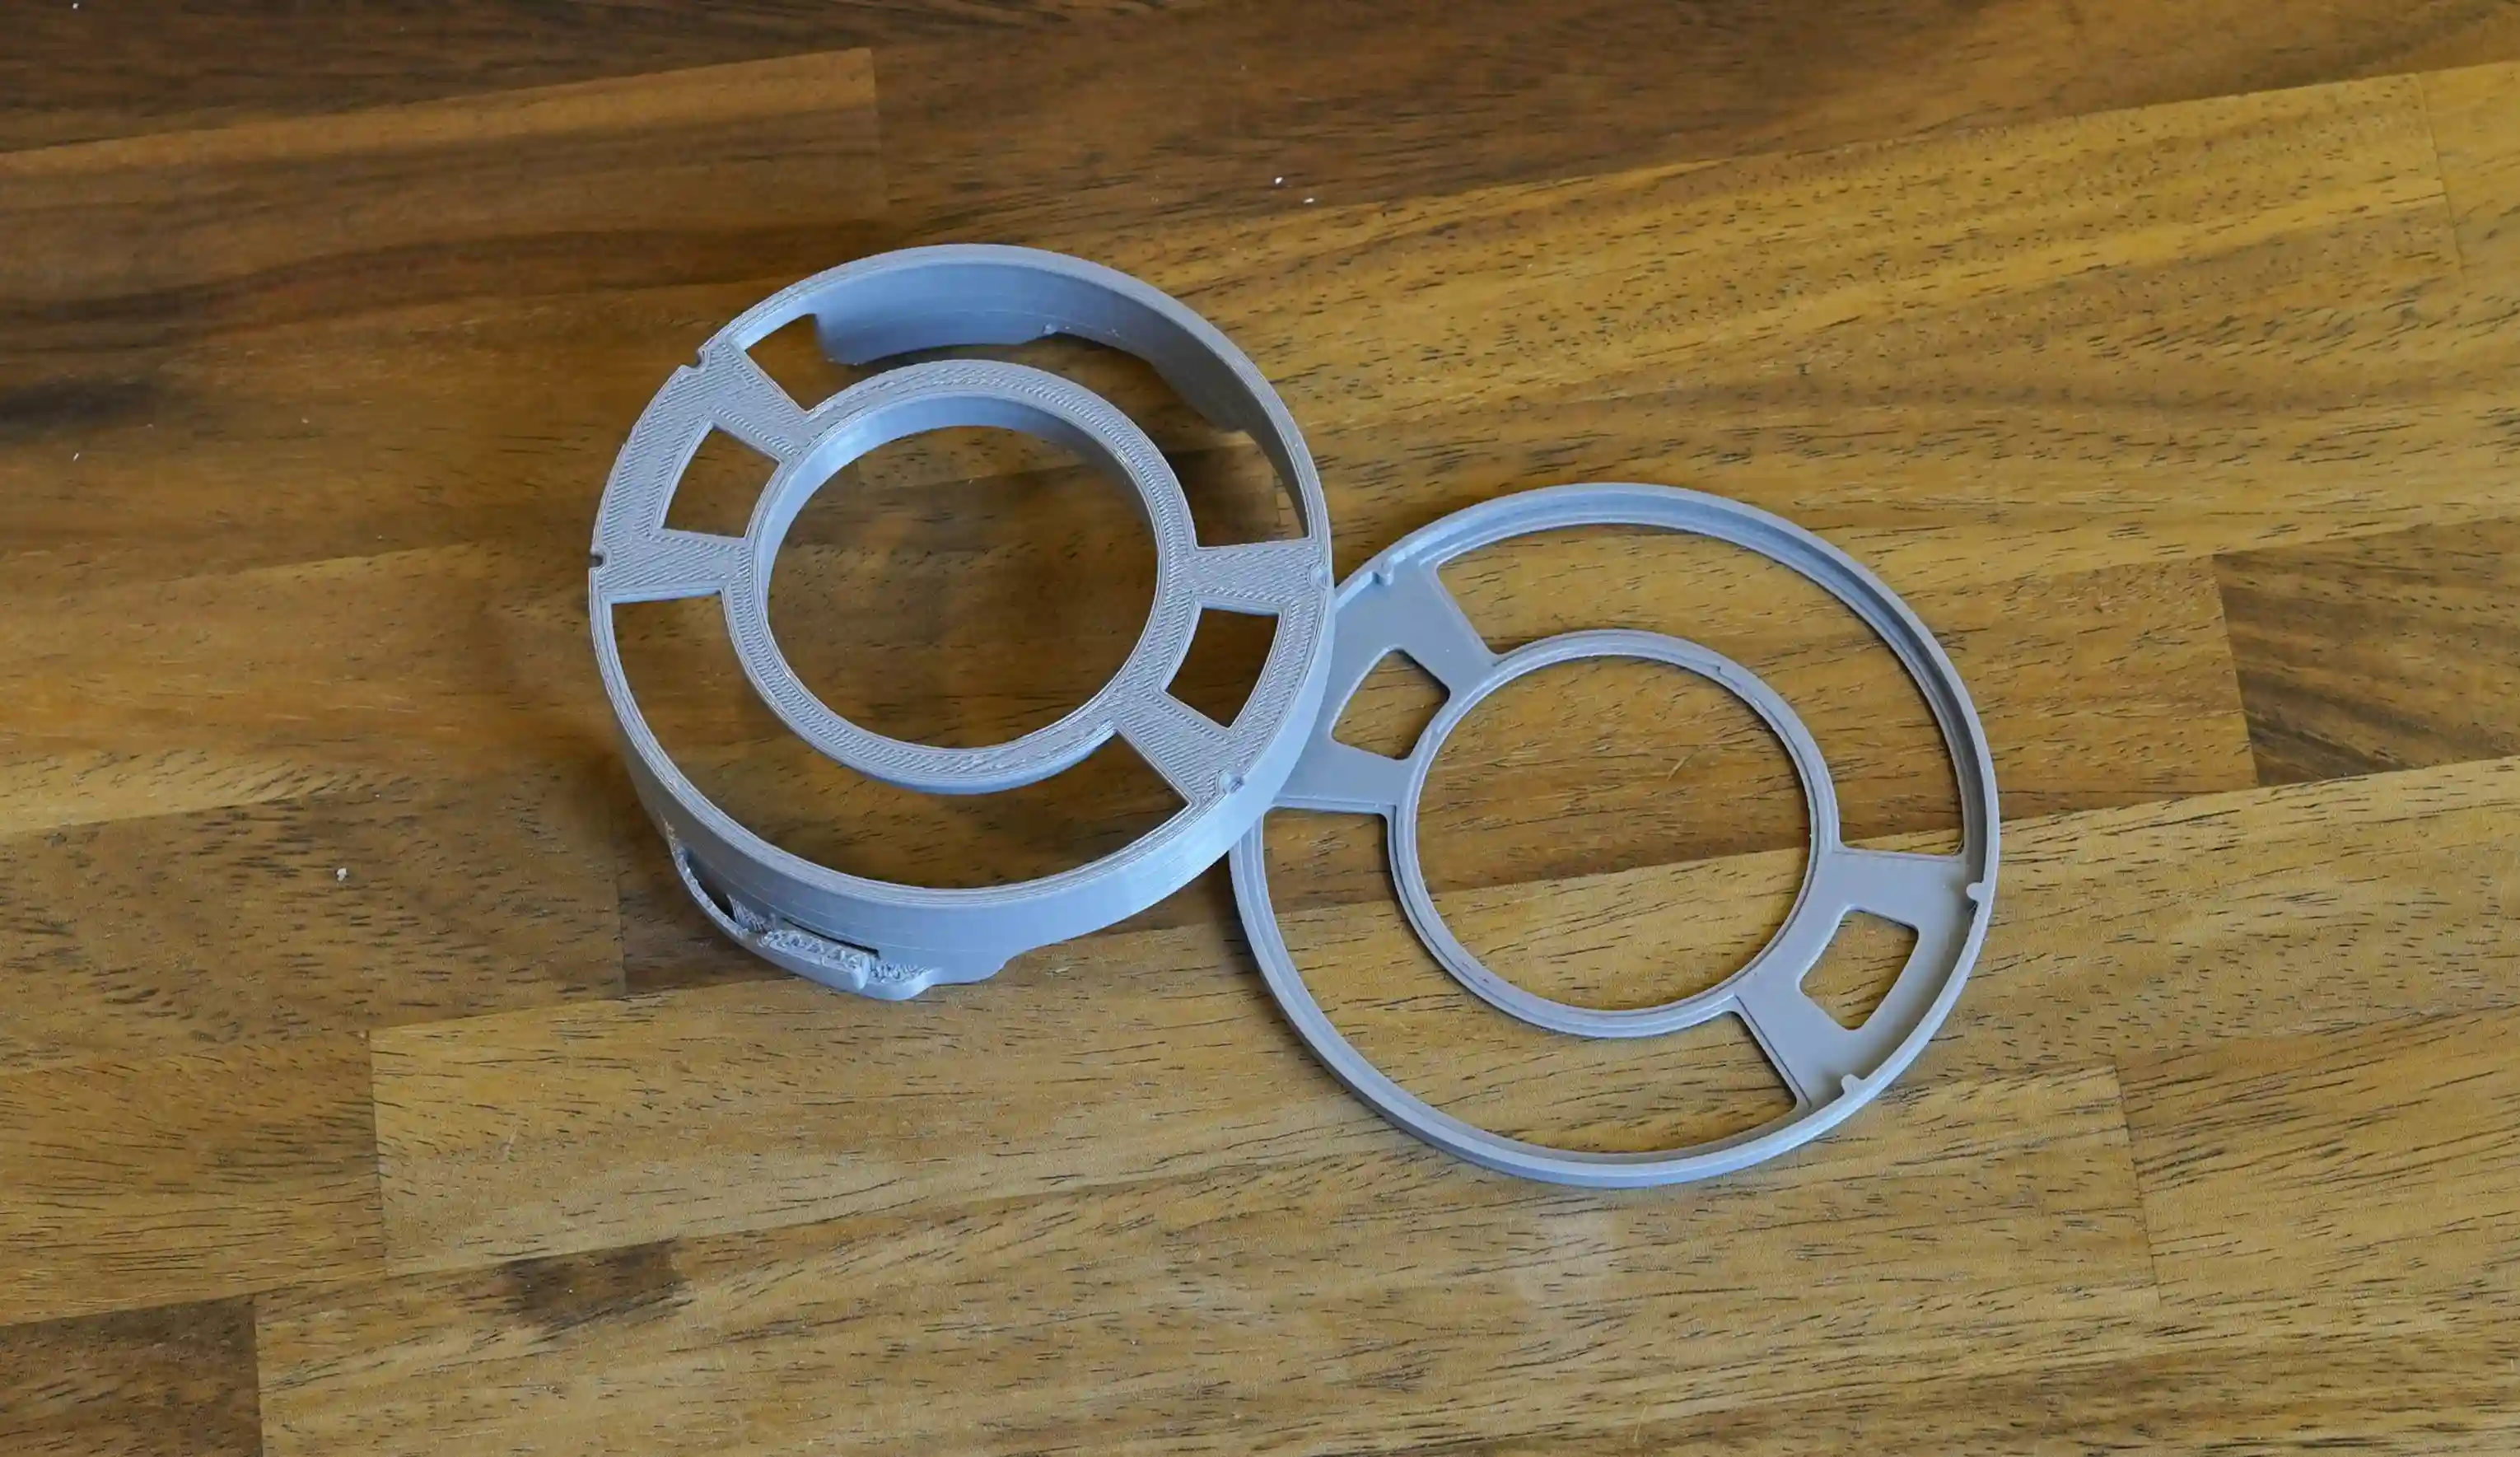
The tool consists of two primary components: a base mount designed for semi-permanent attachment to the ring flash, and a removable cap featuring an integrated polarized acrylic filter. This second component can be mounted and dismounted via a twist-lock mechanism, similar to a standard lens hood.
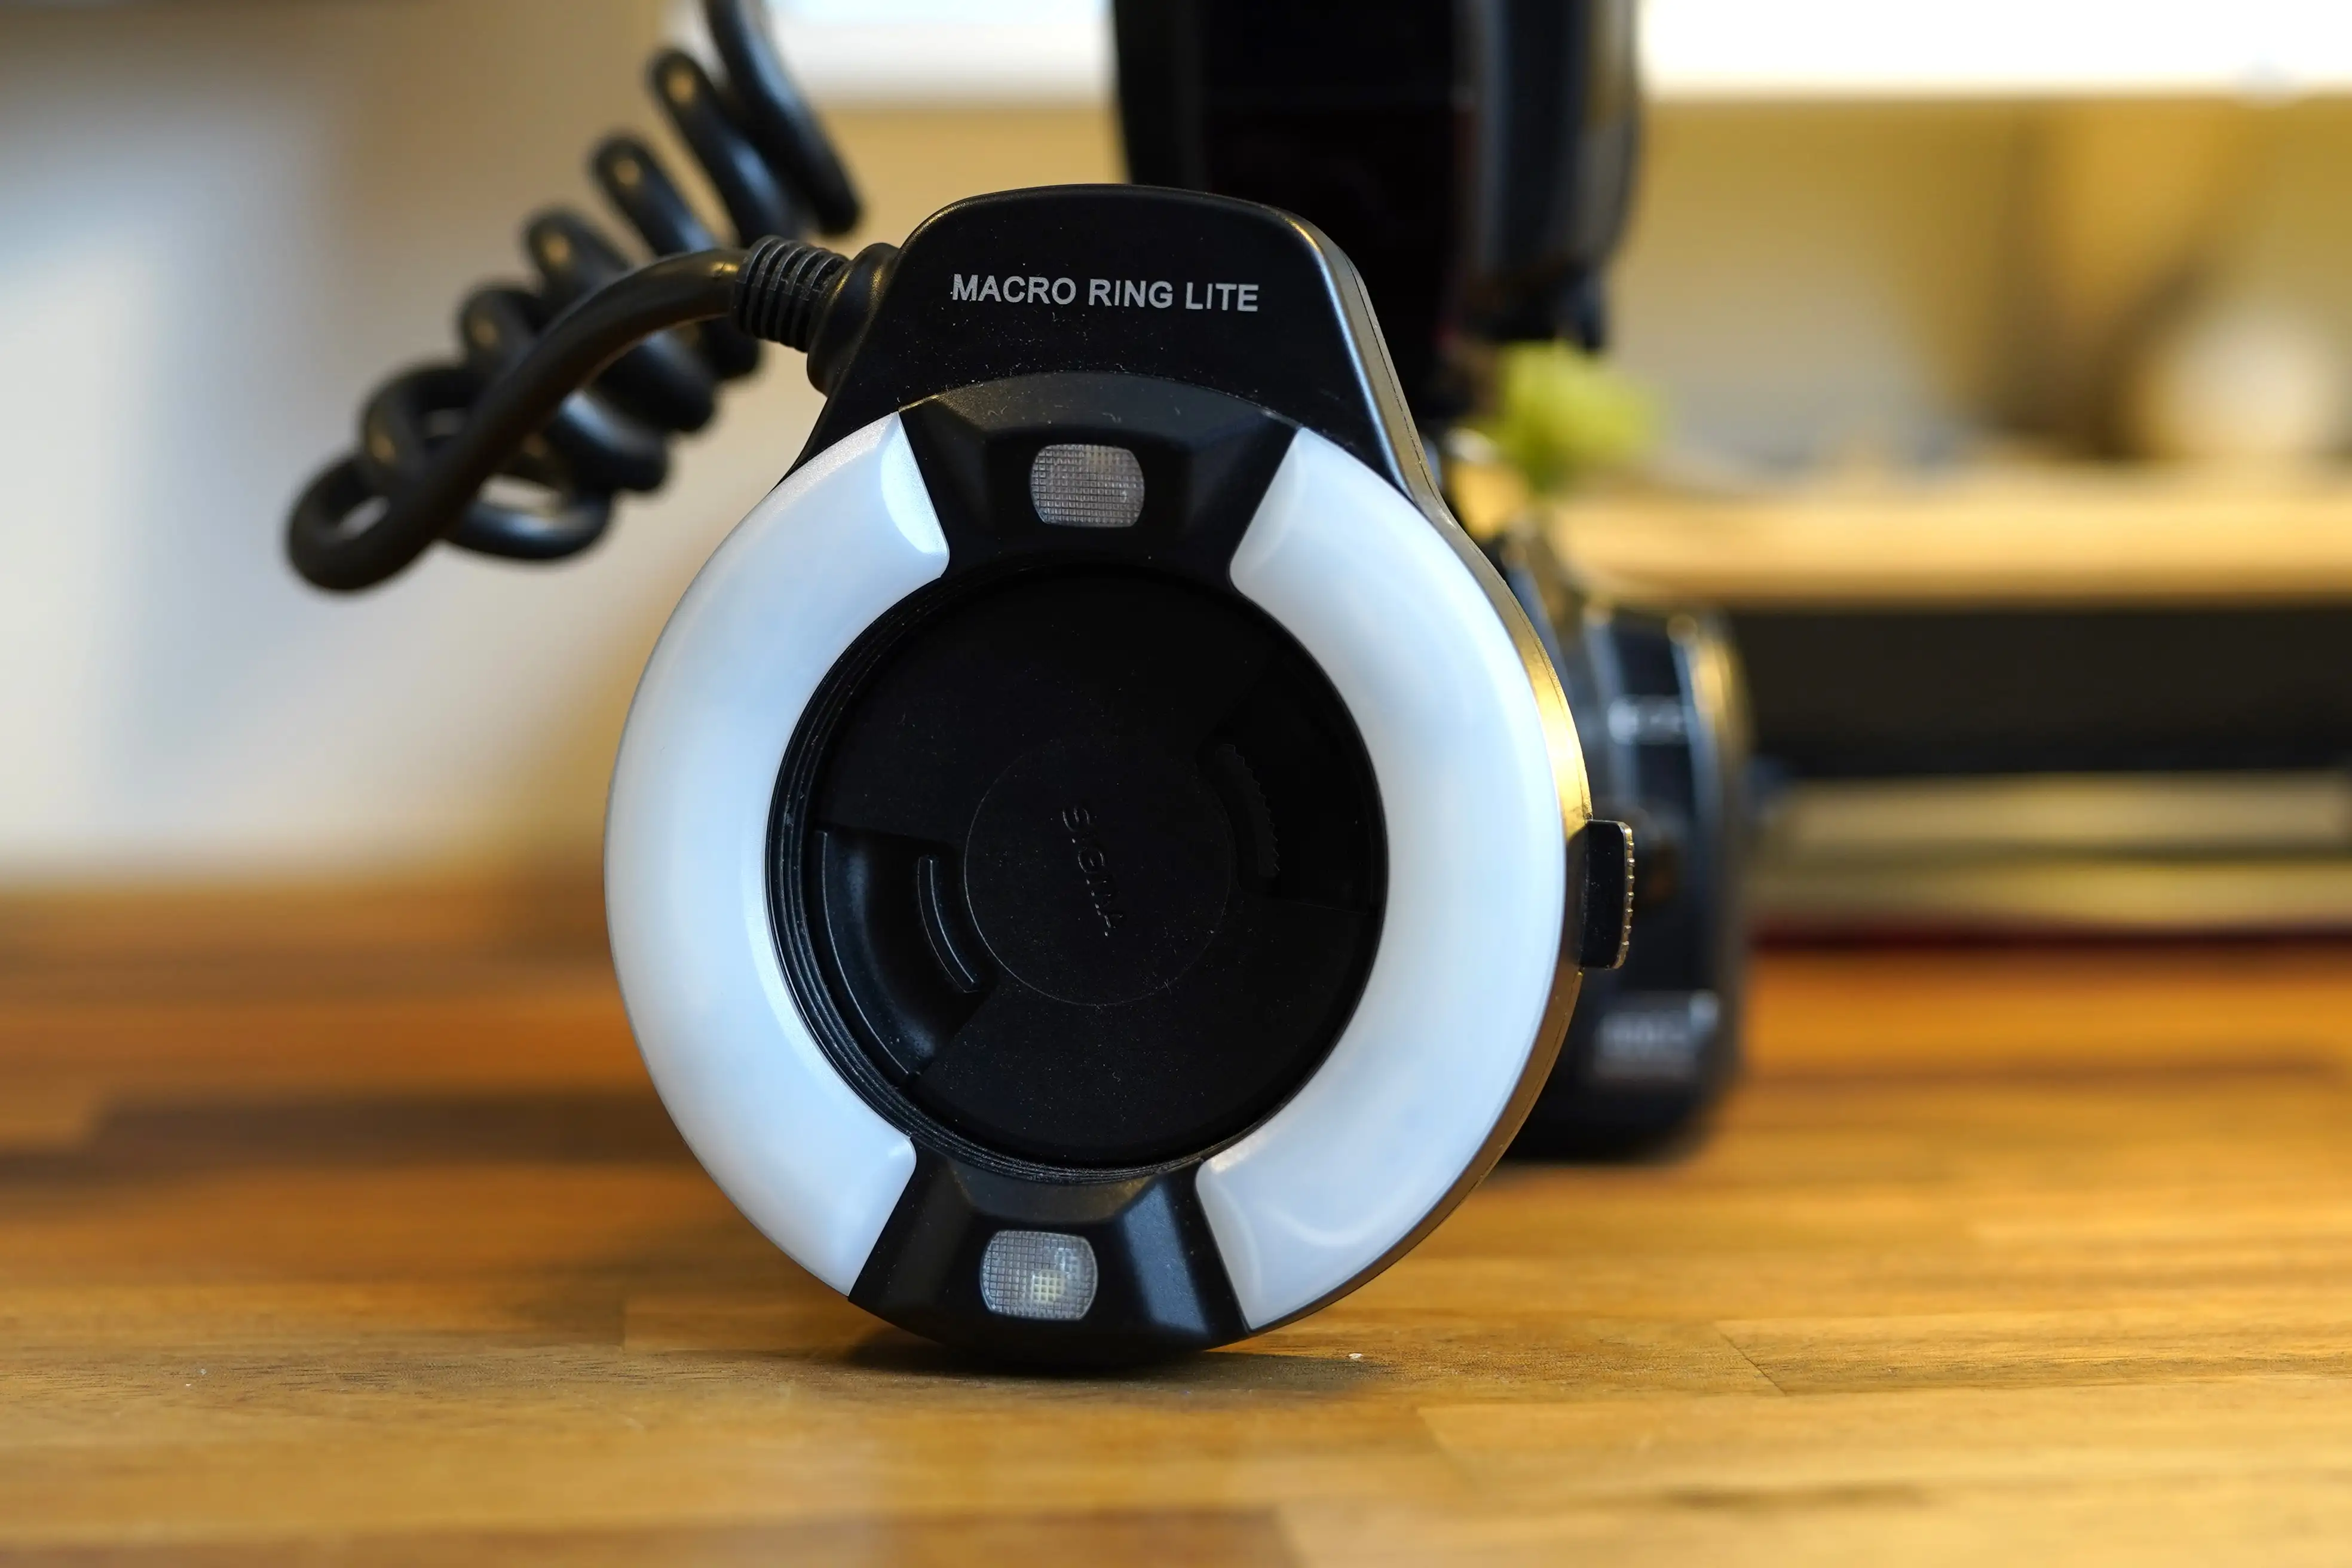
While there are many flashlights available, this design specifically fits a Meke Macro Ring Lite. Consequently, all shapes and dimensions are based on its exact measurements.
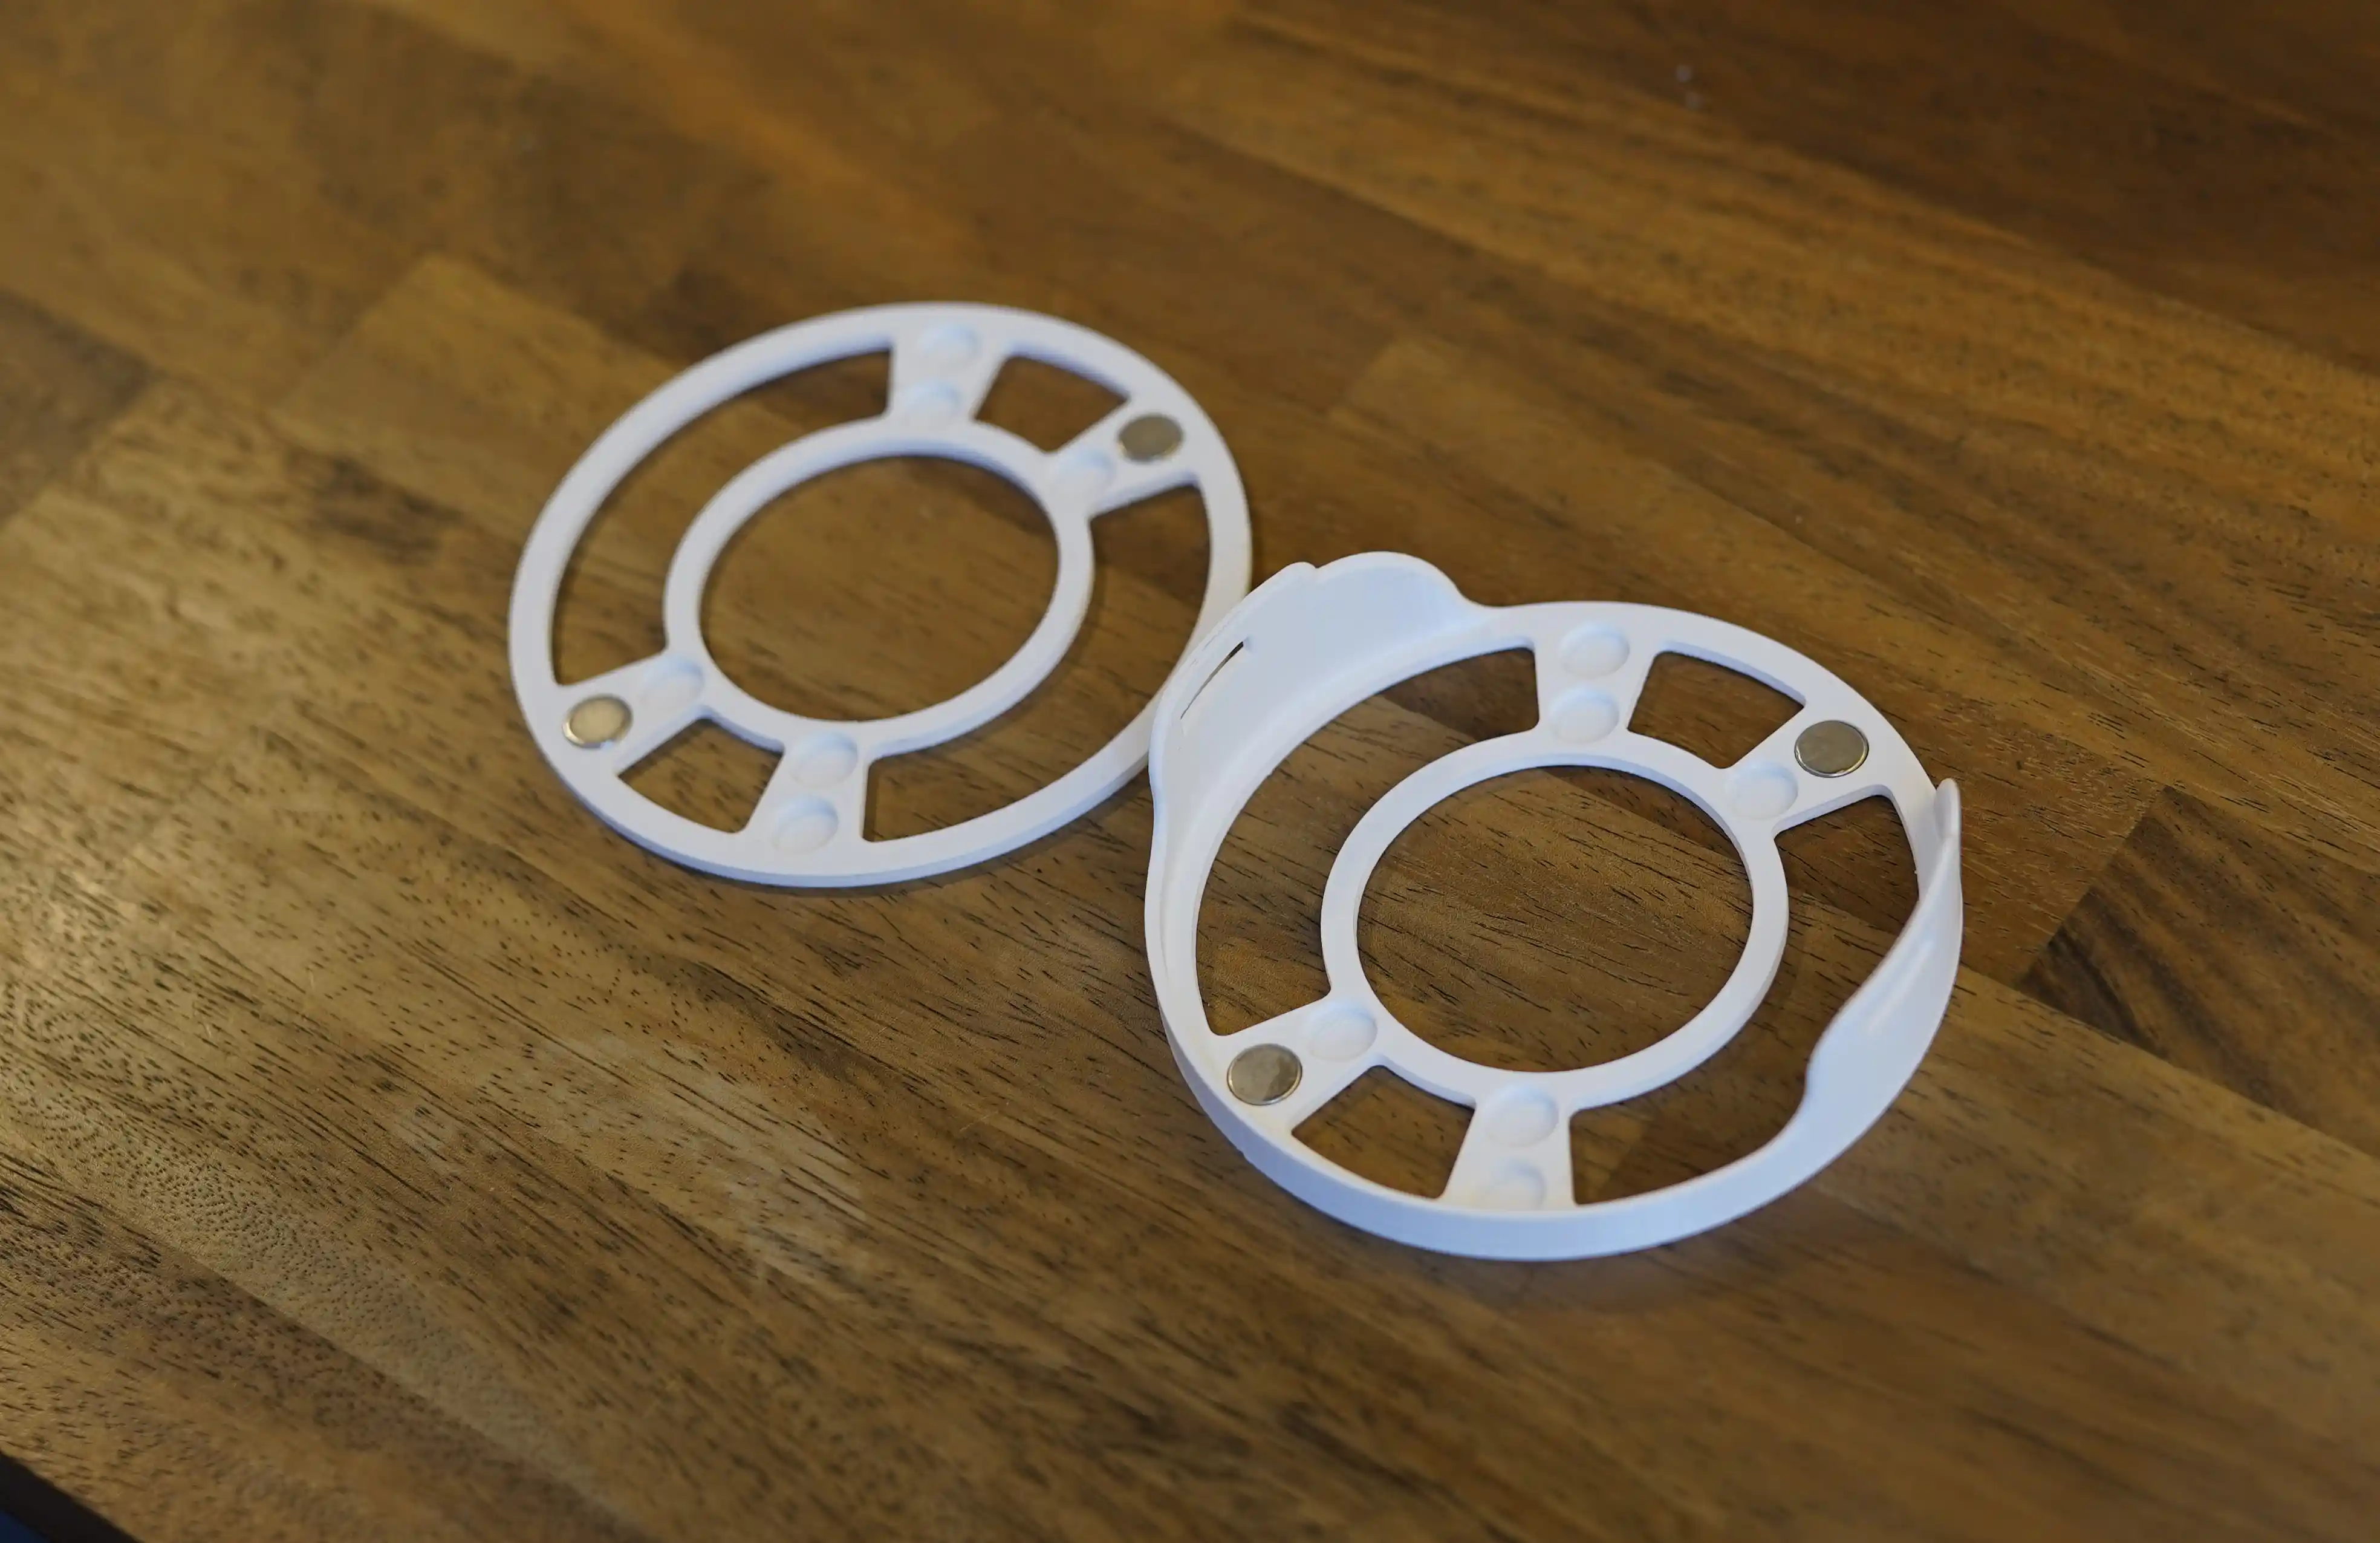
Many existing solutions use magnets because they offer several benefits: they snap quickly into place and are easy to remove, making them very user-friendly. In my initial designs, the first iterations used magnets and worked quite well. However, this meant the magnets had to be purchased and installed, adding extra steps to the manufacturing process. Furthermore, they didn't feel secure enough for my taste. There had to be another way.
Instead of magnets, I experimented with small 'nooks' to hold the end part securely. While this solution worked to keep the component latched, it wasn't nearly as quick as the magnetic version. This made switching between polarized and non-polarized light a challenge. To solve this, I tried to make the entire product removable, while matching the efficiency of magnets.
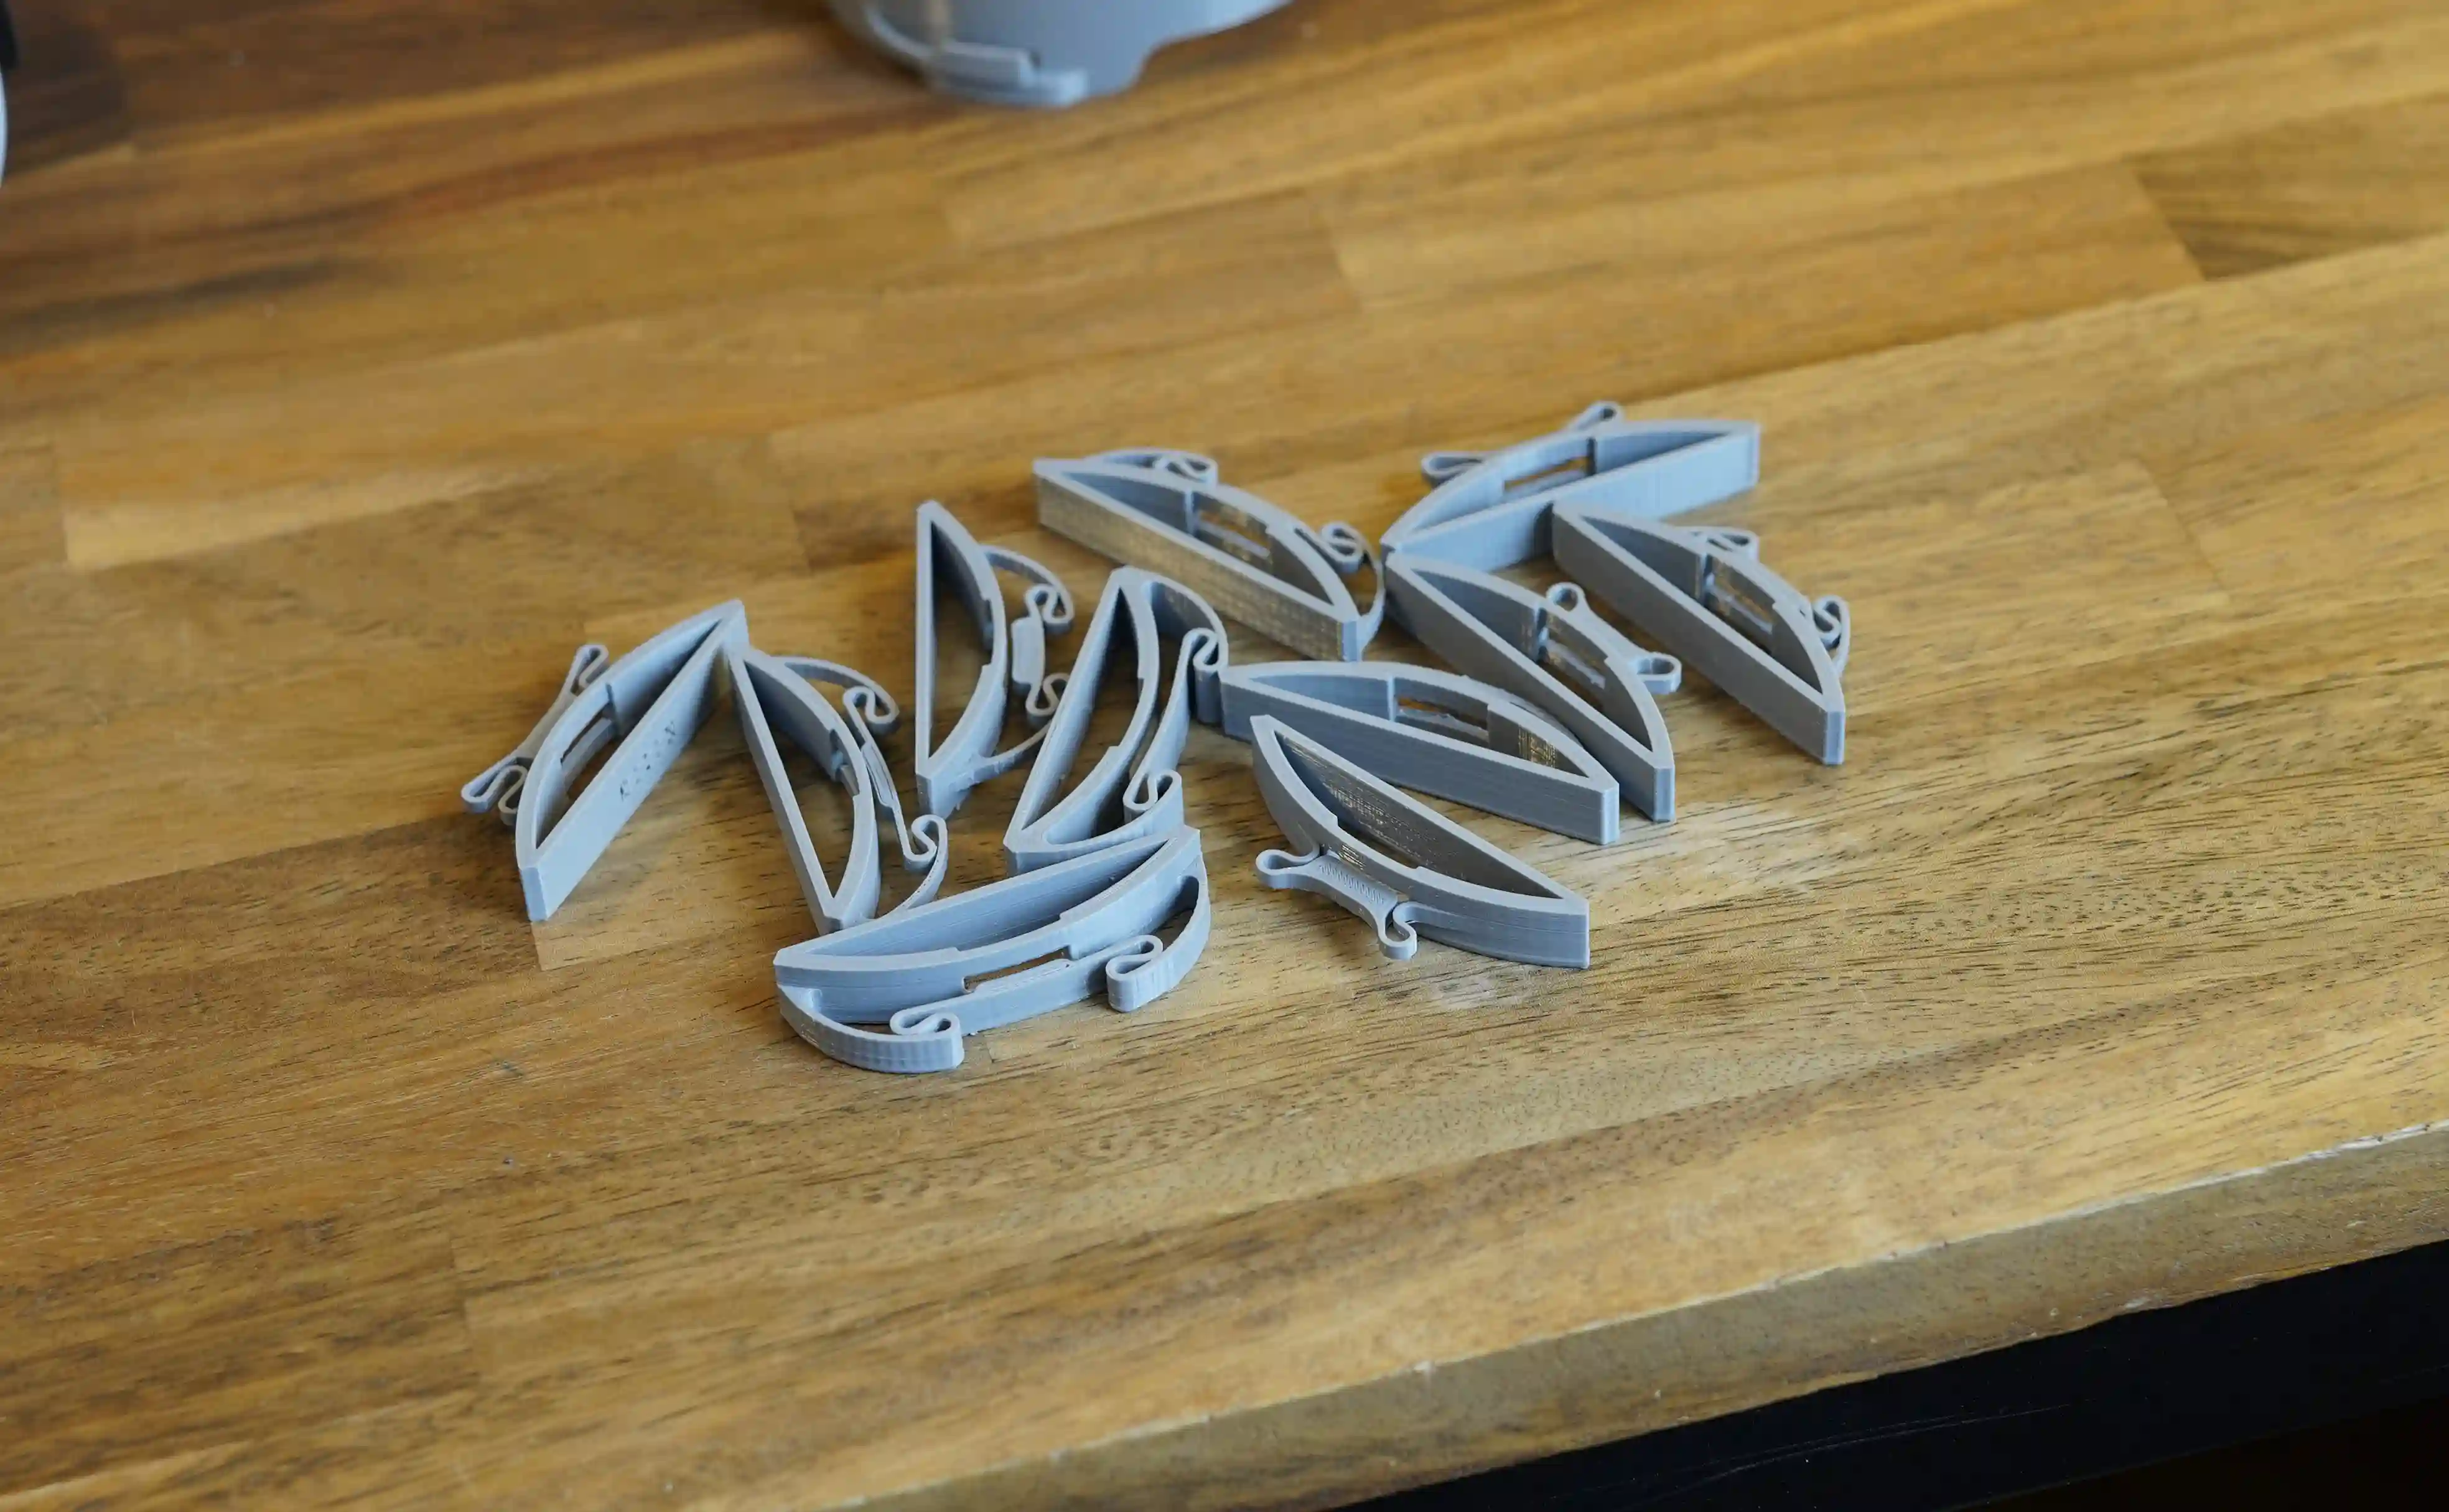
The side slots made it possible to secure the product to the ring light very quickly and smoothly. However, it was not easily removable, unless you had tiny fingers or long sturdy nails. To counter this, I designed and tested several button shapes. Ultimately, although the buttons made the mount easier to remove, the process still wasn't efficient enough. So back to the drawing board!
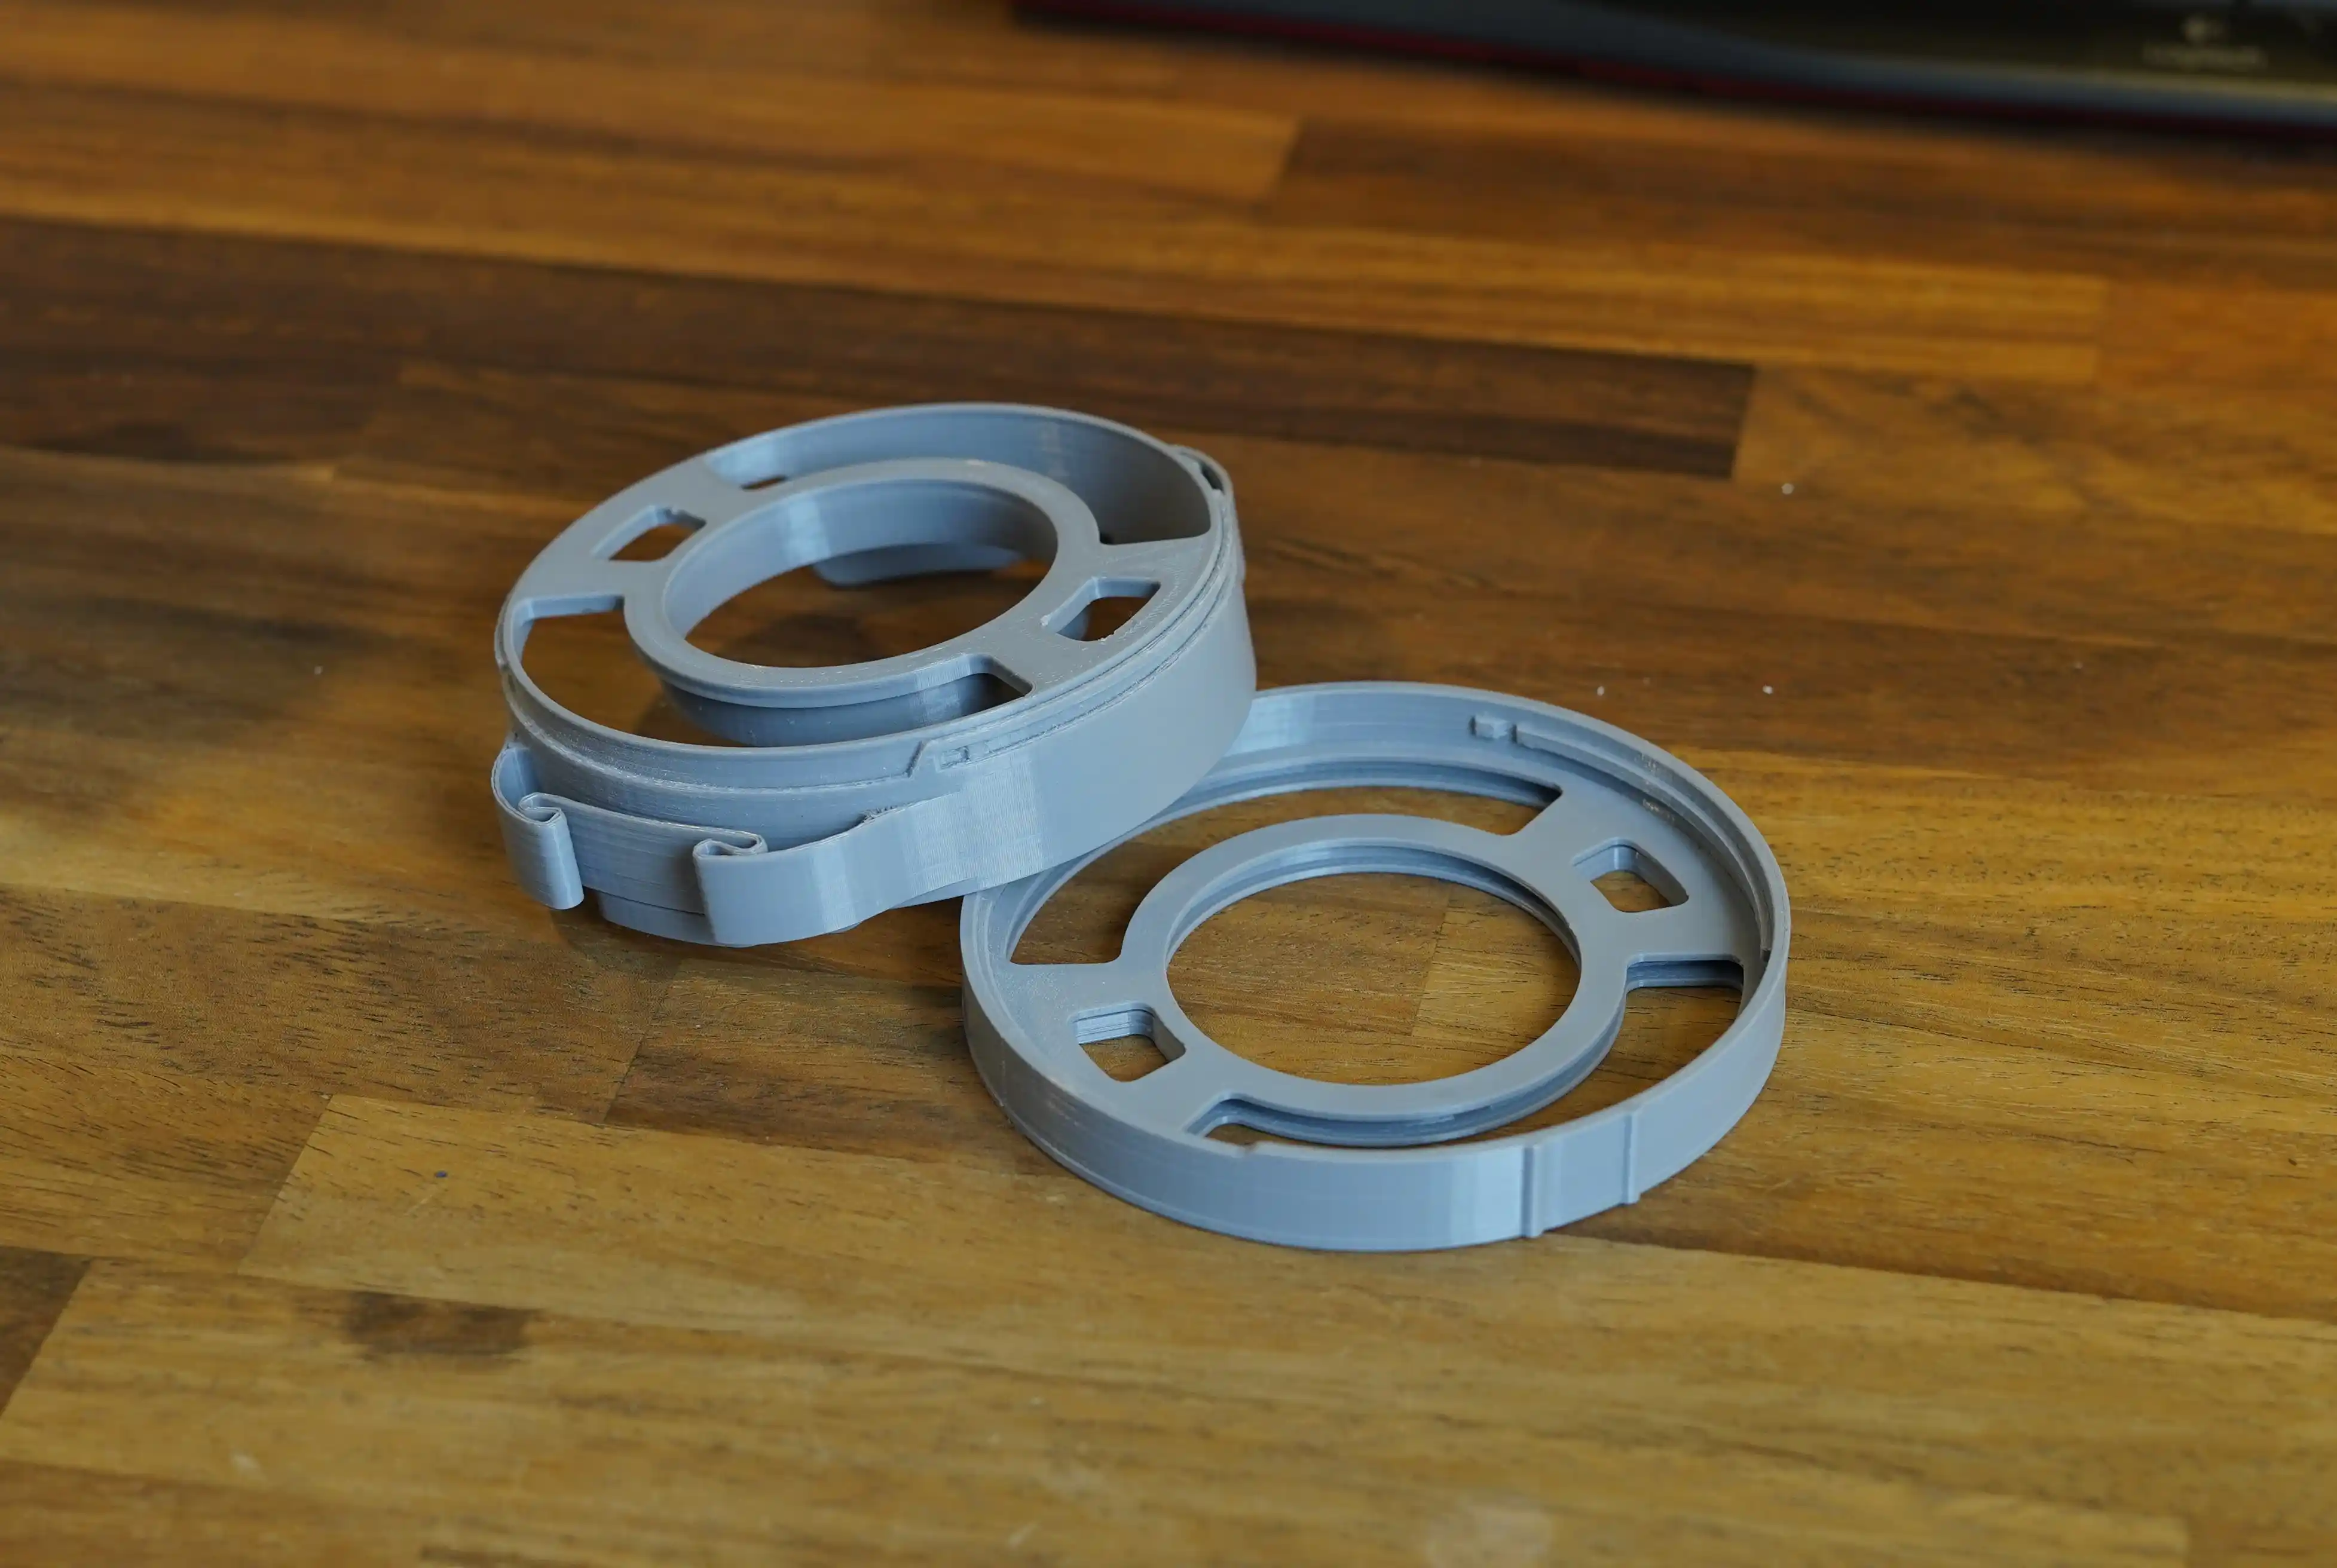
The solution was right under my nose all along: the same mechanism used for lens hoods. This approach makes mounting and dismounting the end cap quick and efficient. It is a user-friendly system that requires no external partsm, like magnets, and no extra installation steps. While it is admittedly not quite as lightning-fast as magnets, the added security and manufacturing simplicity outweigh that single trade-off, and with futher itterations it might become even more efficient ;).
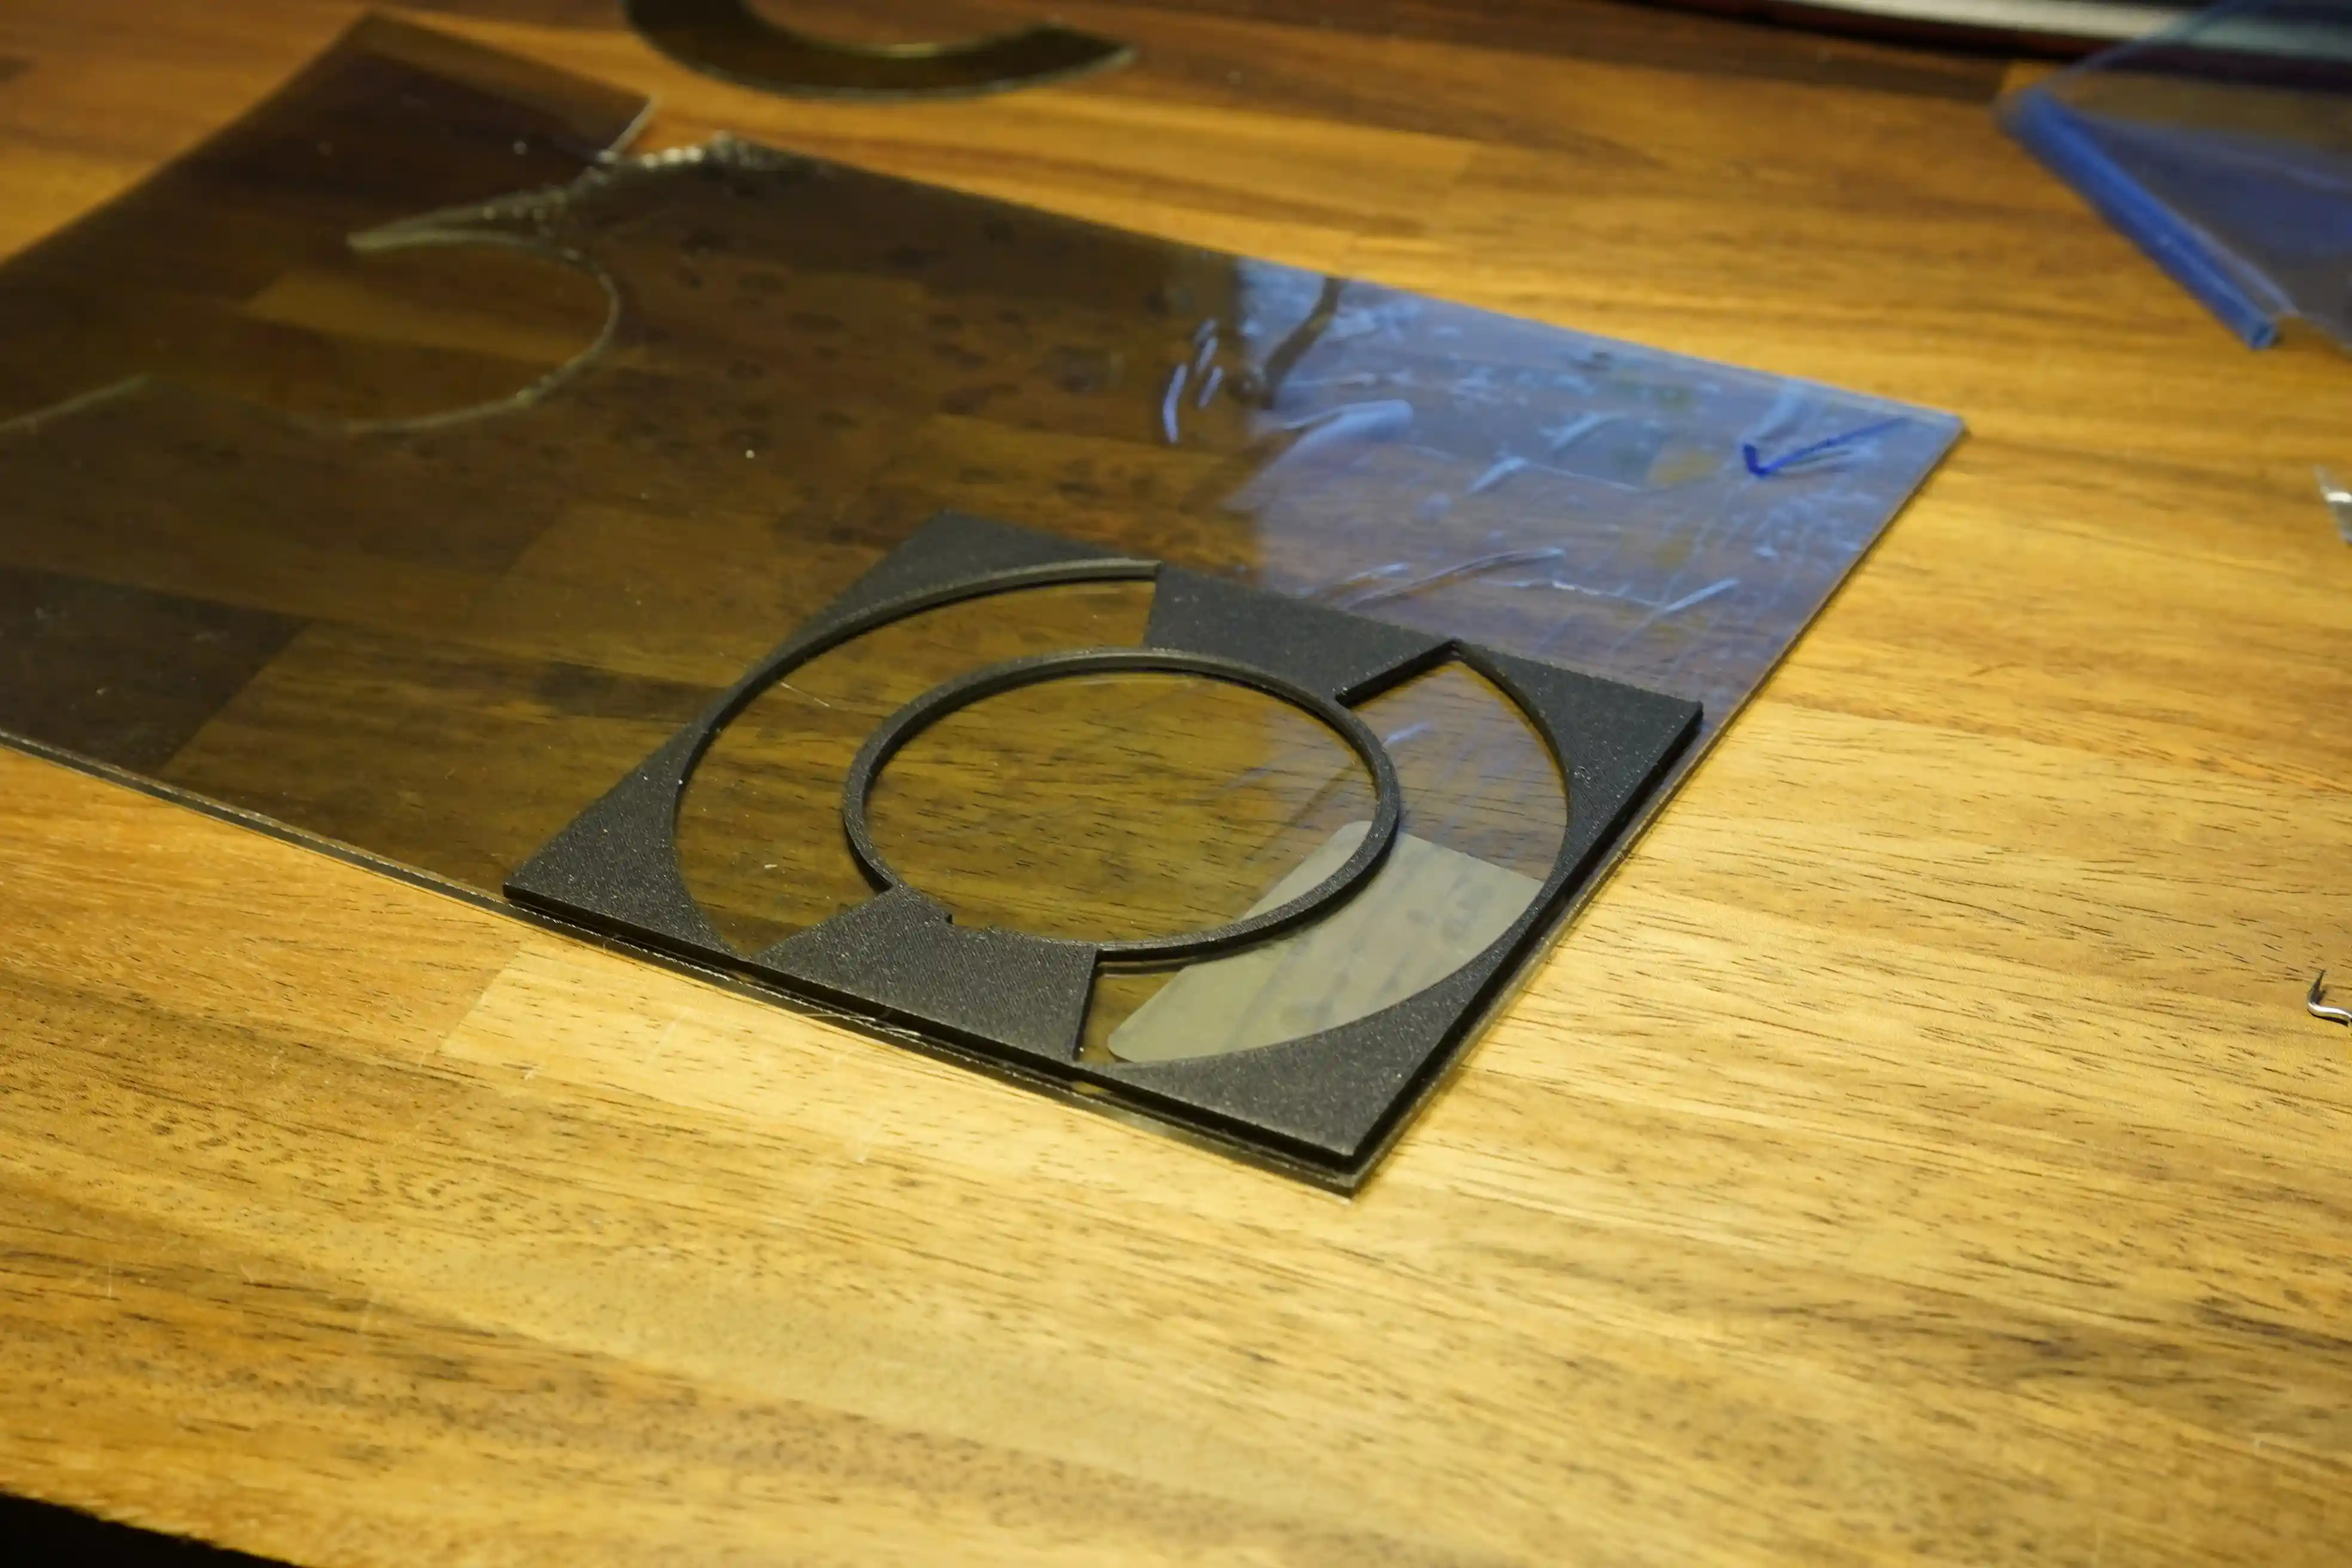
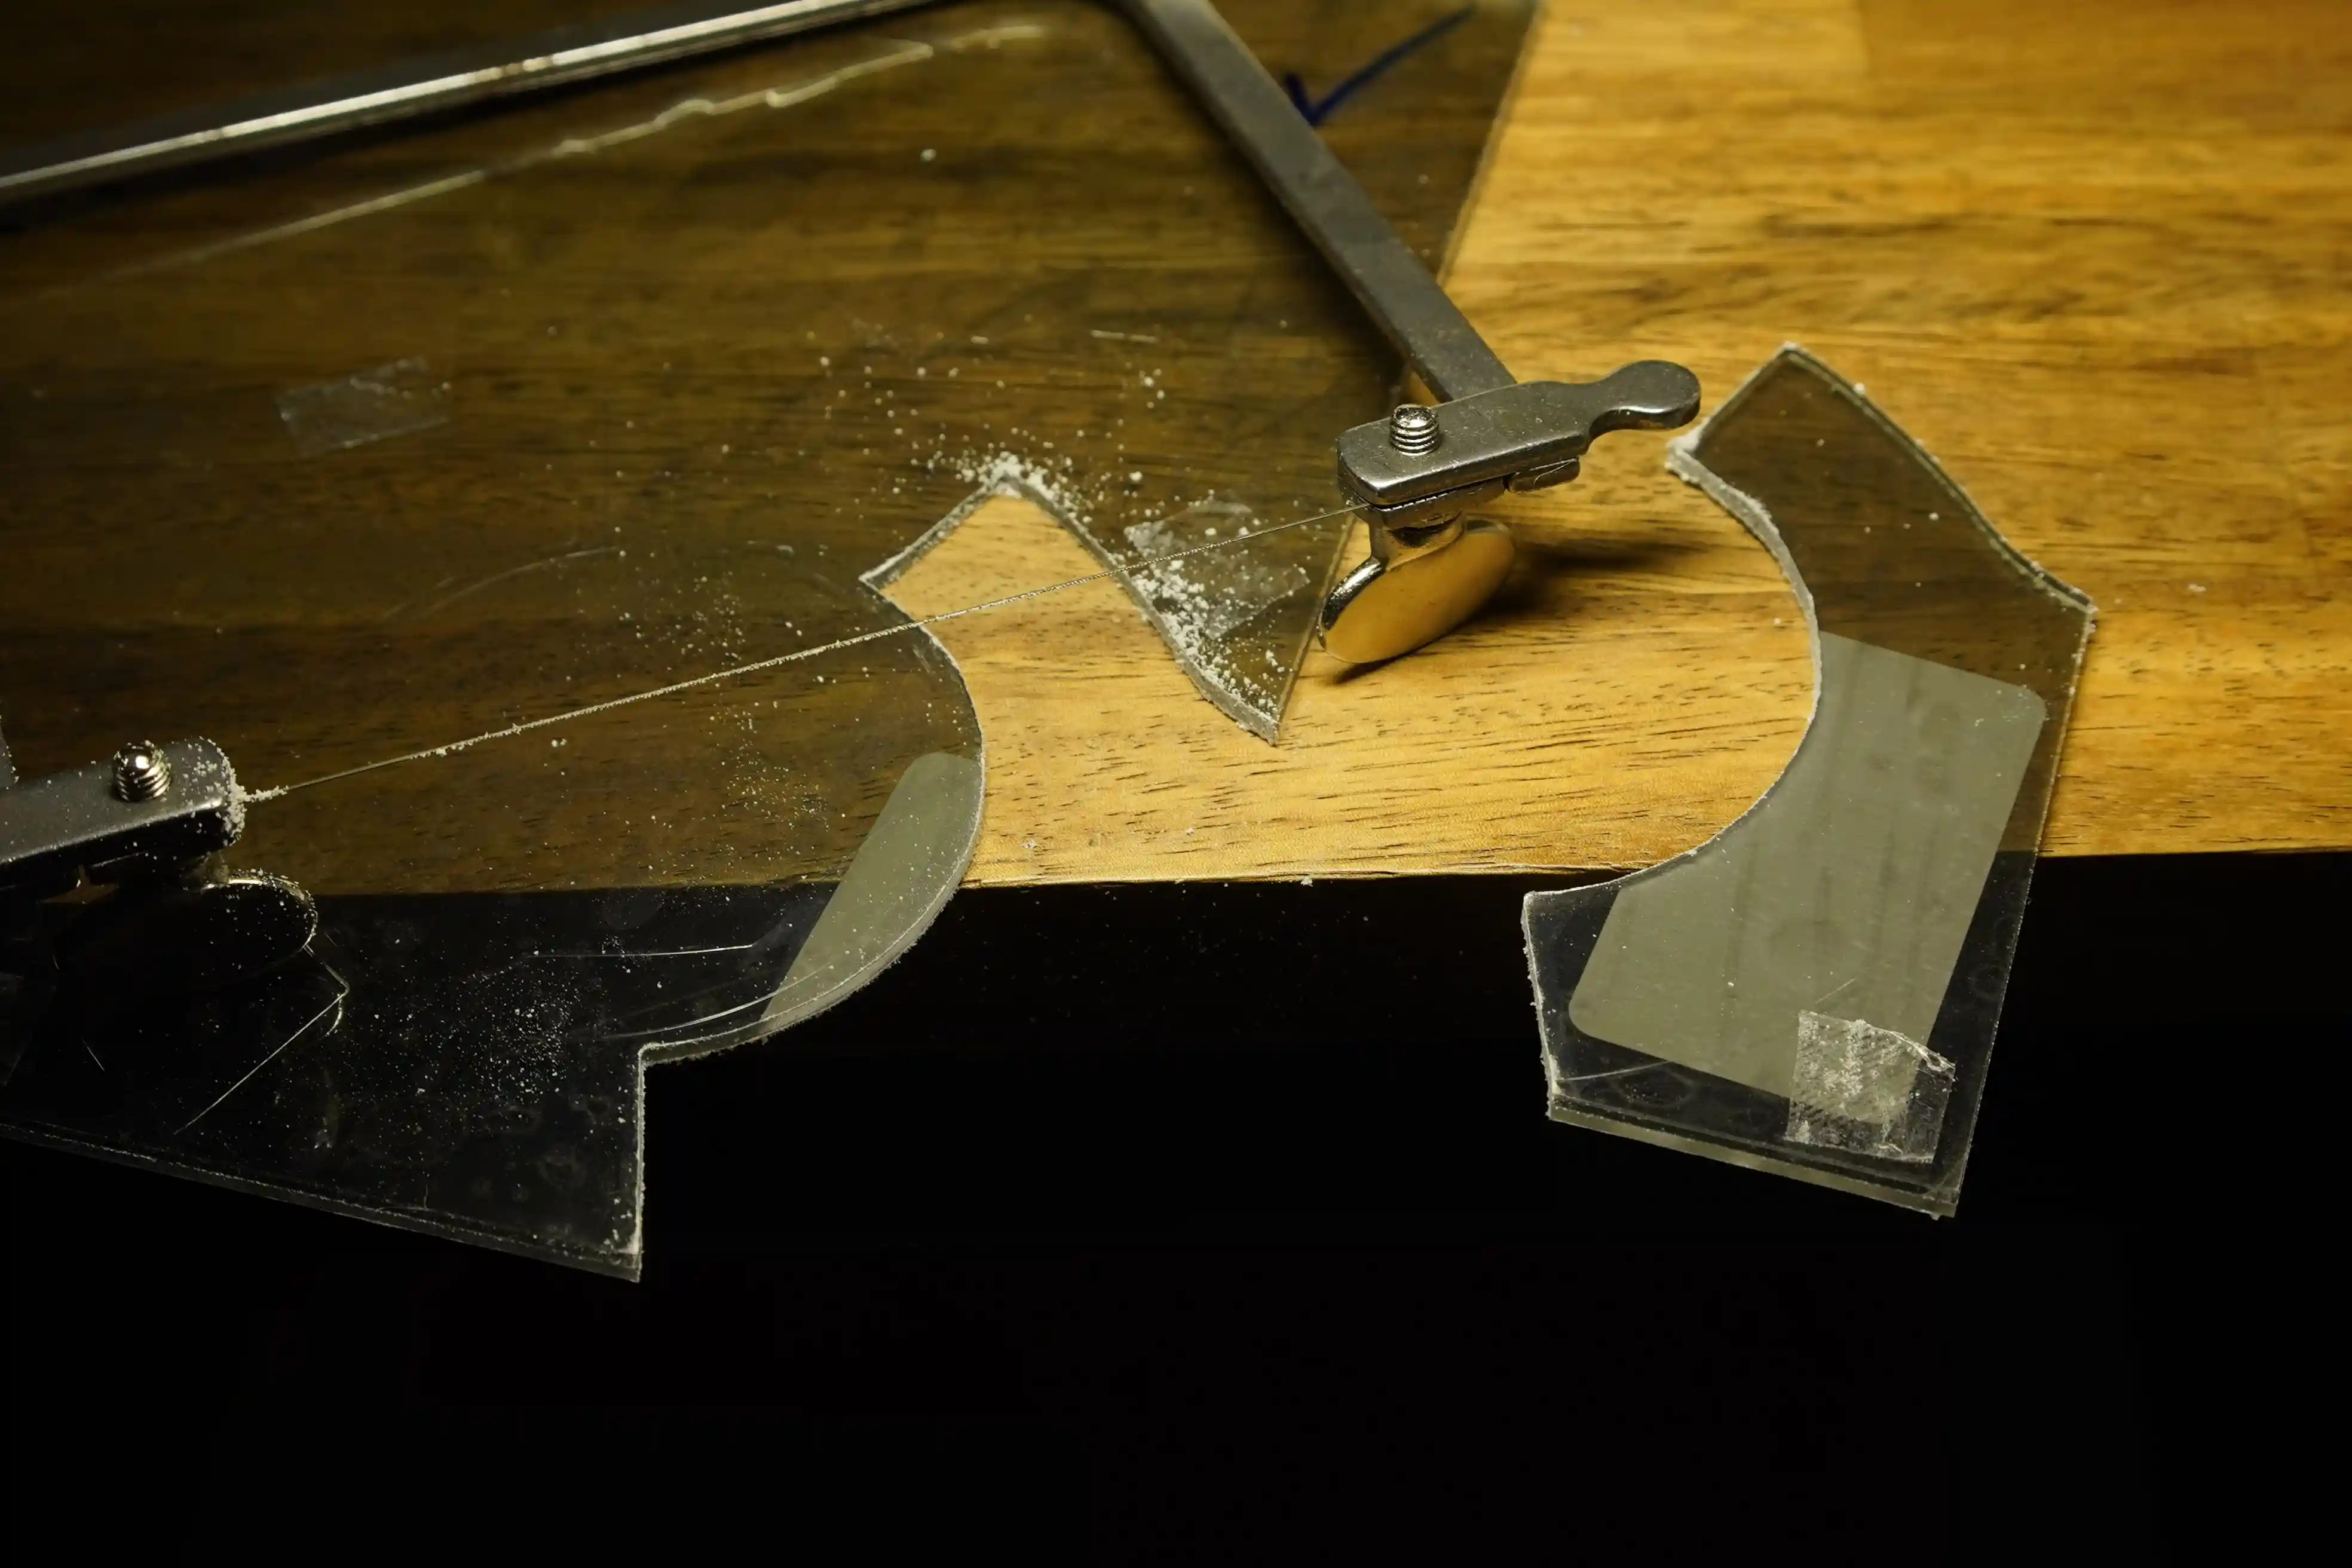
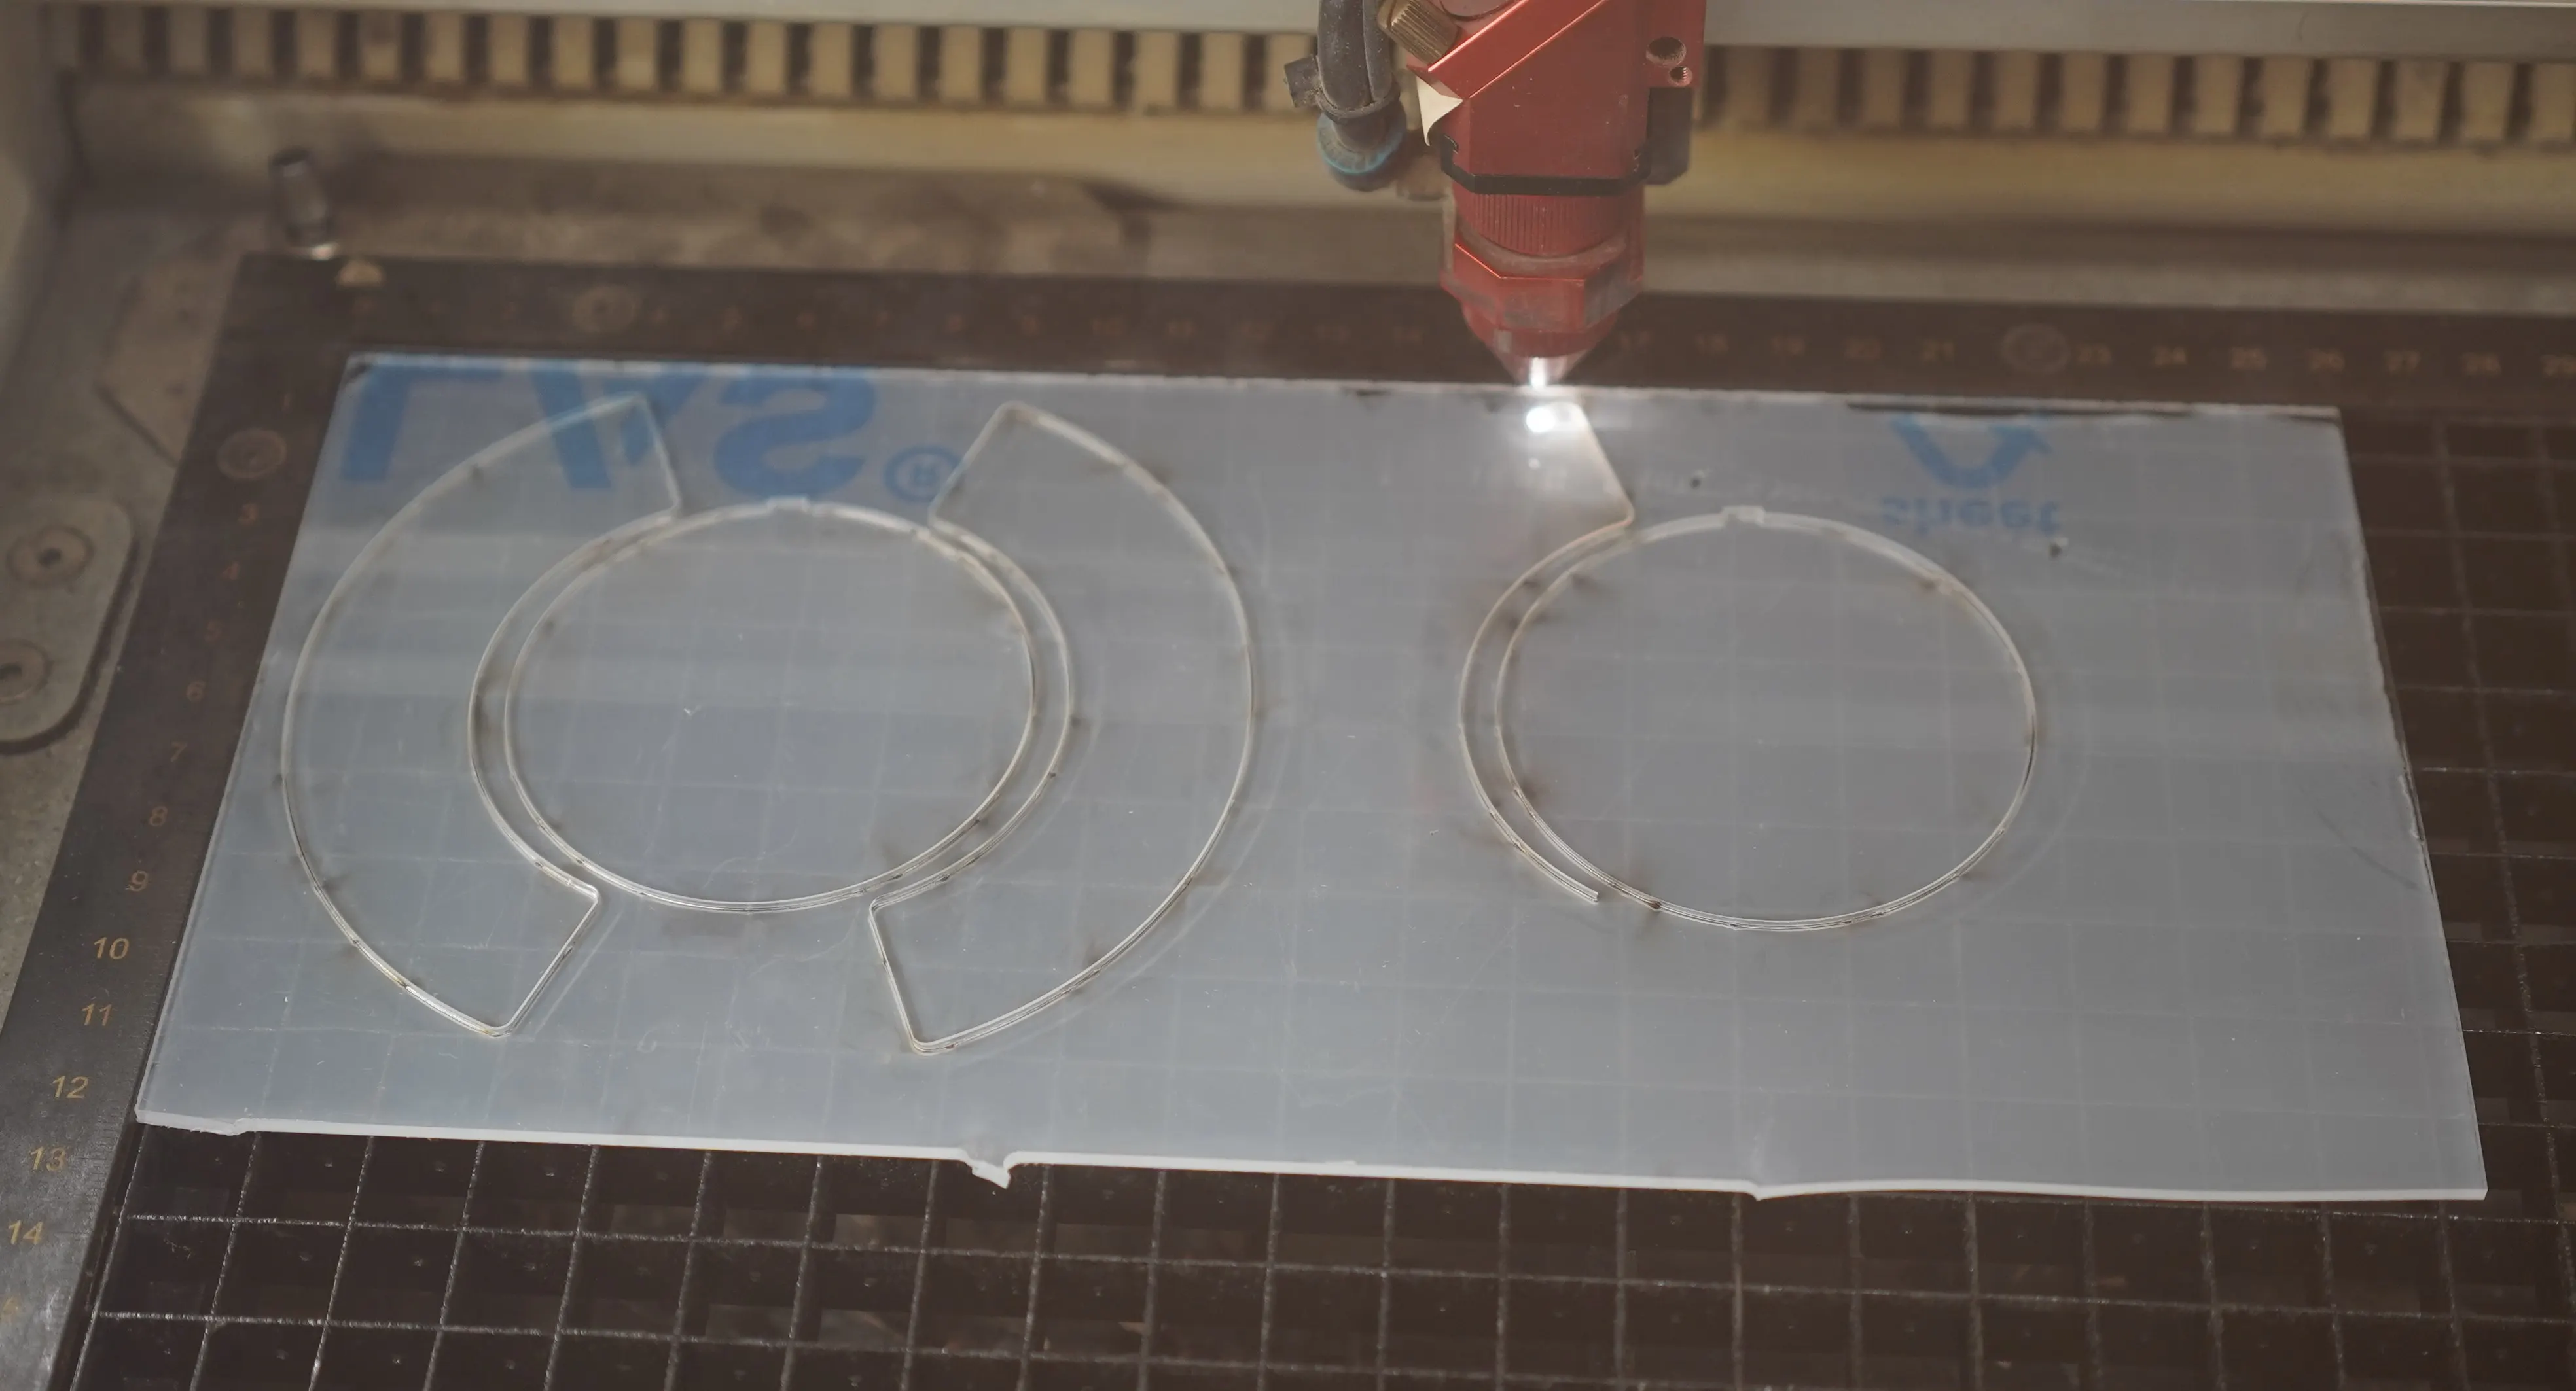
Working with polarized sheets was a major challenge. Standard films are easy to source and cut, but they are too flimsy and warp easily, affecting image quality. Since sturdier materials like polarized acrylic aren't readily available to consumers, and glass is too difficult to cut, I tried laminating a polarizing film onto an acrylic sheet. However, this introduced new issues: trapped air bubbles and the difficulty of precision cutting with a coping saw. Ideally, I'd use pre-cut, professional polarized glass.
Ultimately, the solution involved carefully applying the polarized sheet onto a cleaned,
dust-free
acrylic base. Once applied, a laser cutter was used to achieve a perfect shape. This method
ensured
minimal air bubbles and a snug fit within the 3D-printed component, resulting in the highest
possible quality.
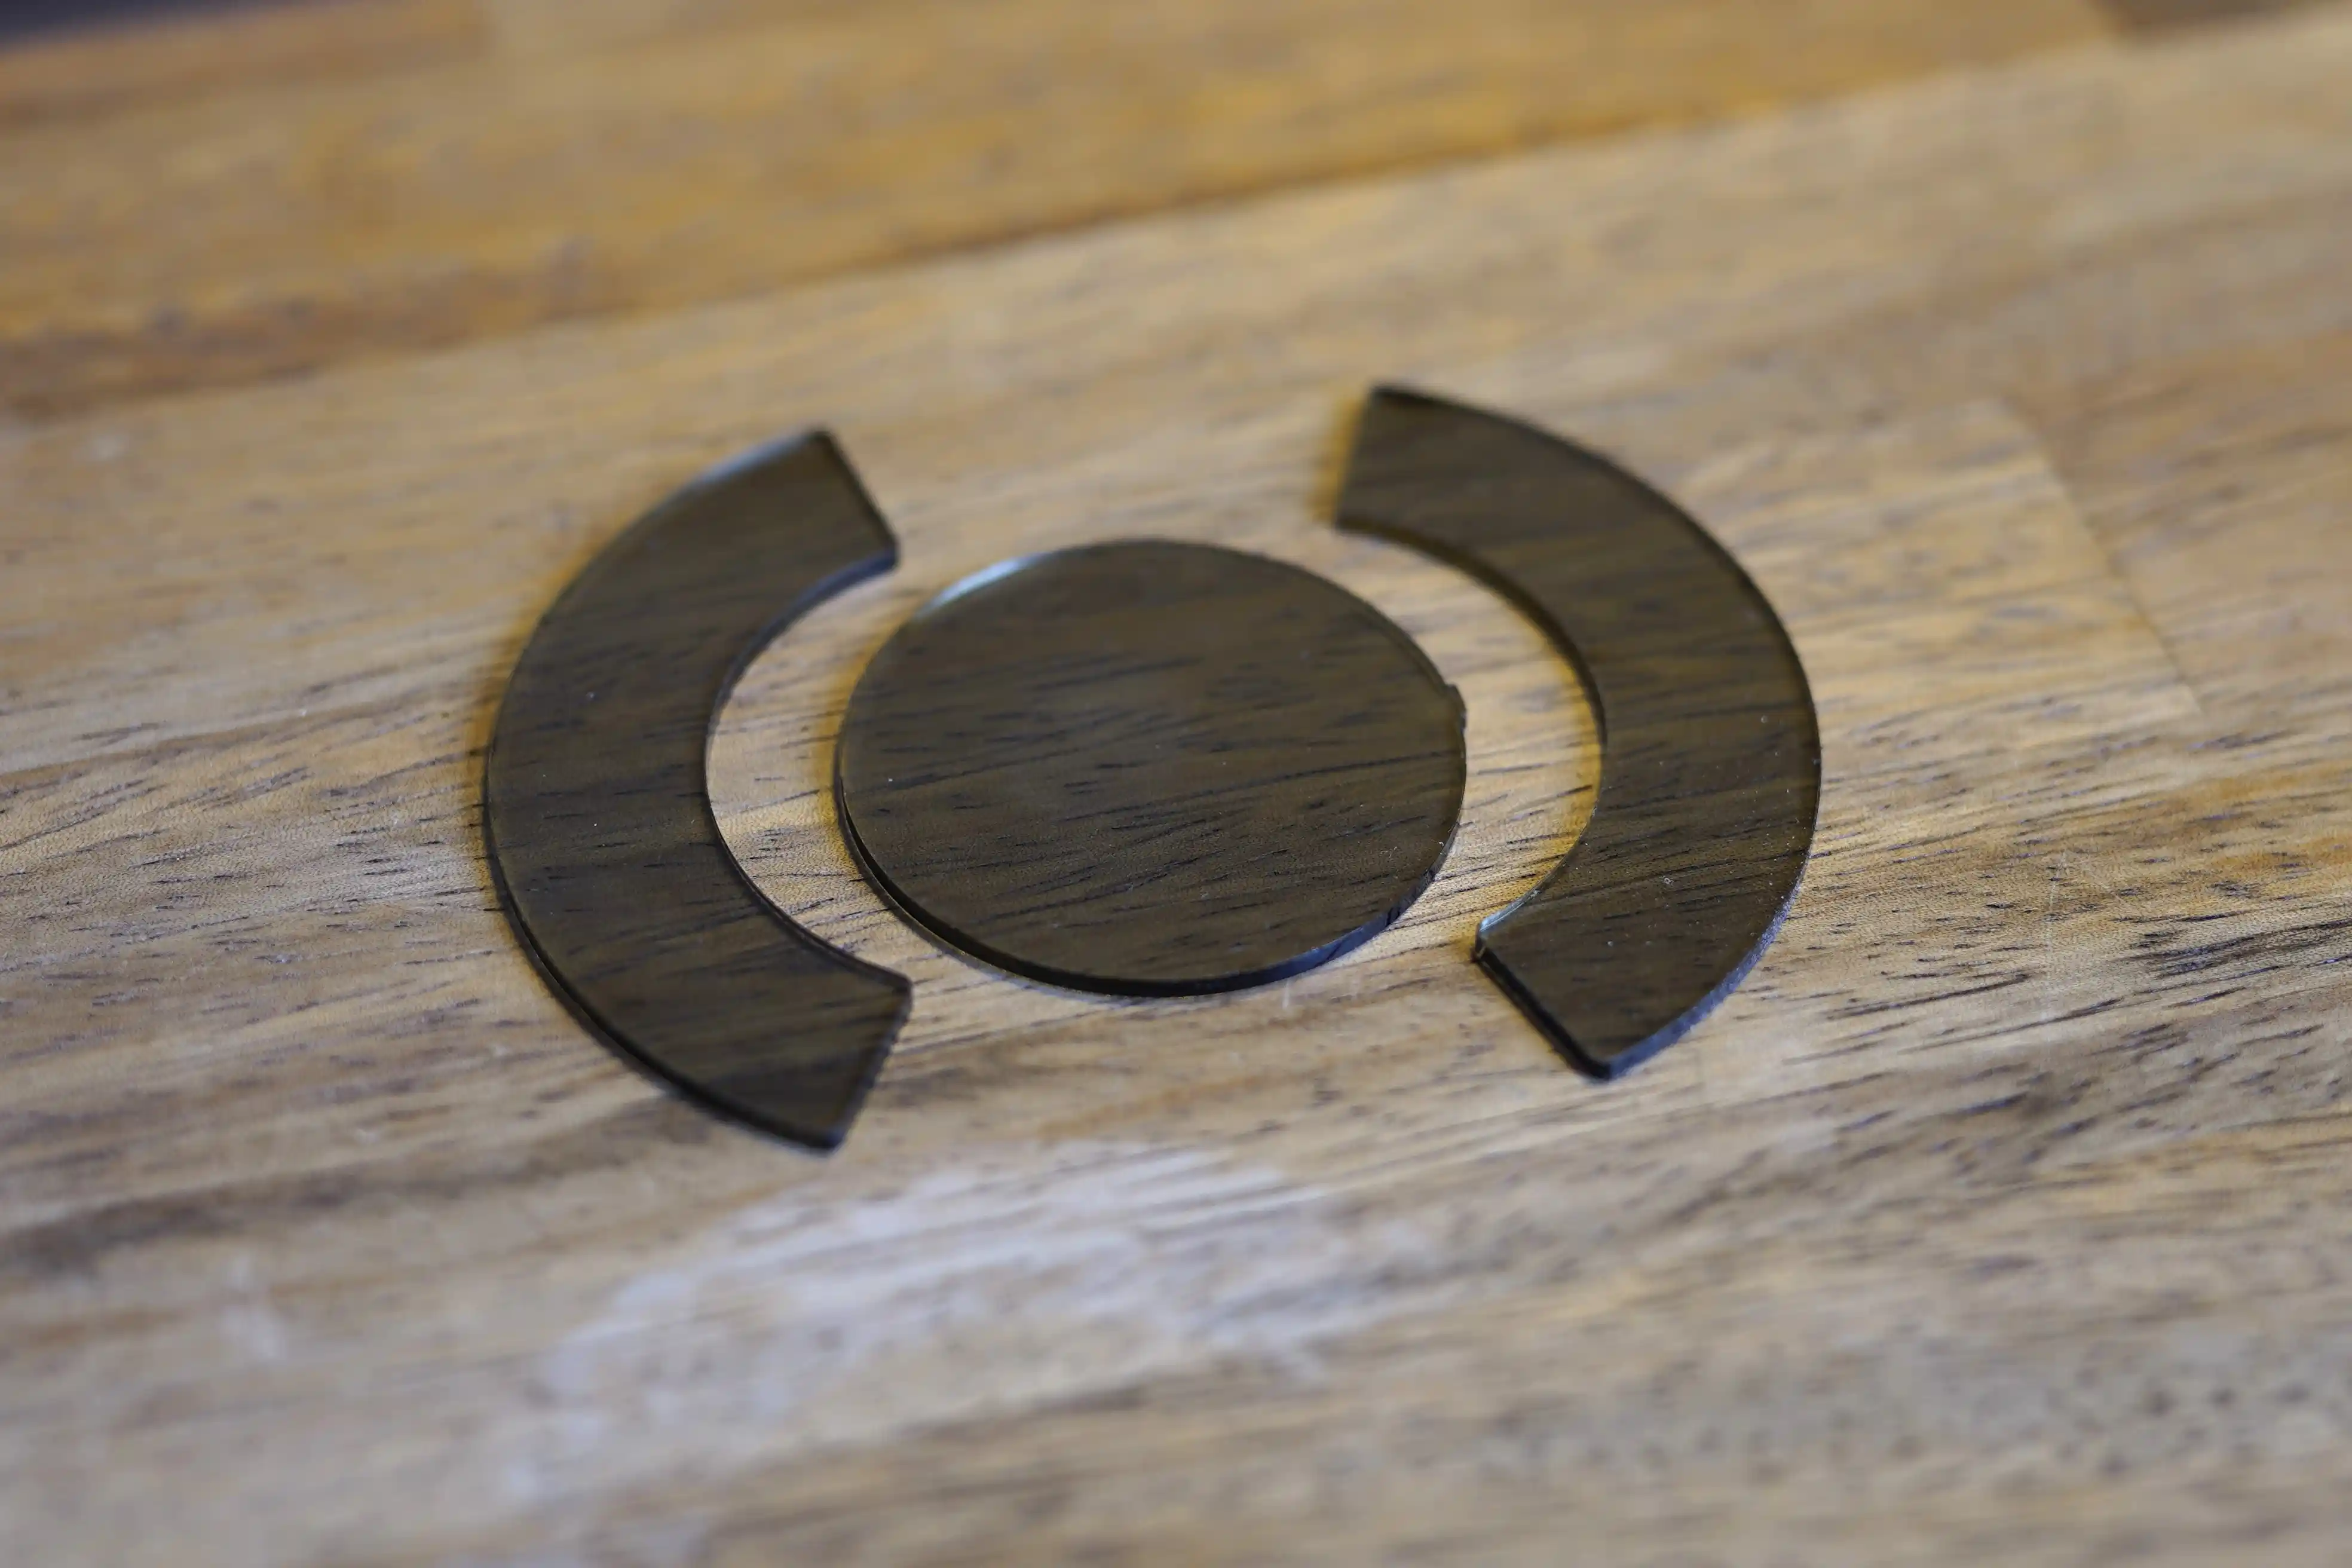
Special attention was paid to the notch in the circular center; this feature allows for a
90-degree
rotation to achieve the cross-polarization effect. If this alignment is off, the filtration
efficiency drops significantly.
This was the most difficult phase of the project because precision was critical to its success.
Using a manual saw made it nearly impossible to maintain the tight tolerances required for a
proper
fit and the correct angle. The laser cutter eliminated these issues. Although I was reluctant to
rely on it because it is a "bottleneck" that neither I nor the average user can easily access,
the
results were undeniable. In the end, the laser cutter provided a level of precision that would
be
very difficult to achieve with a handsaw or even a mill.
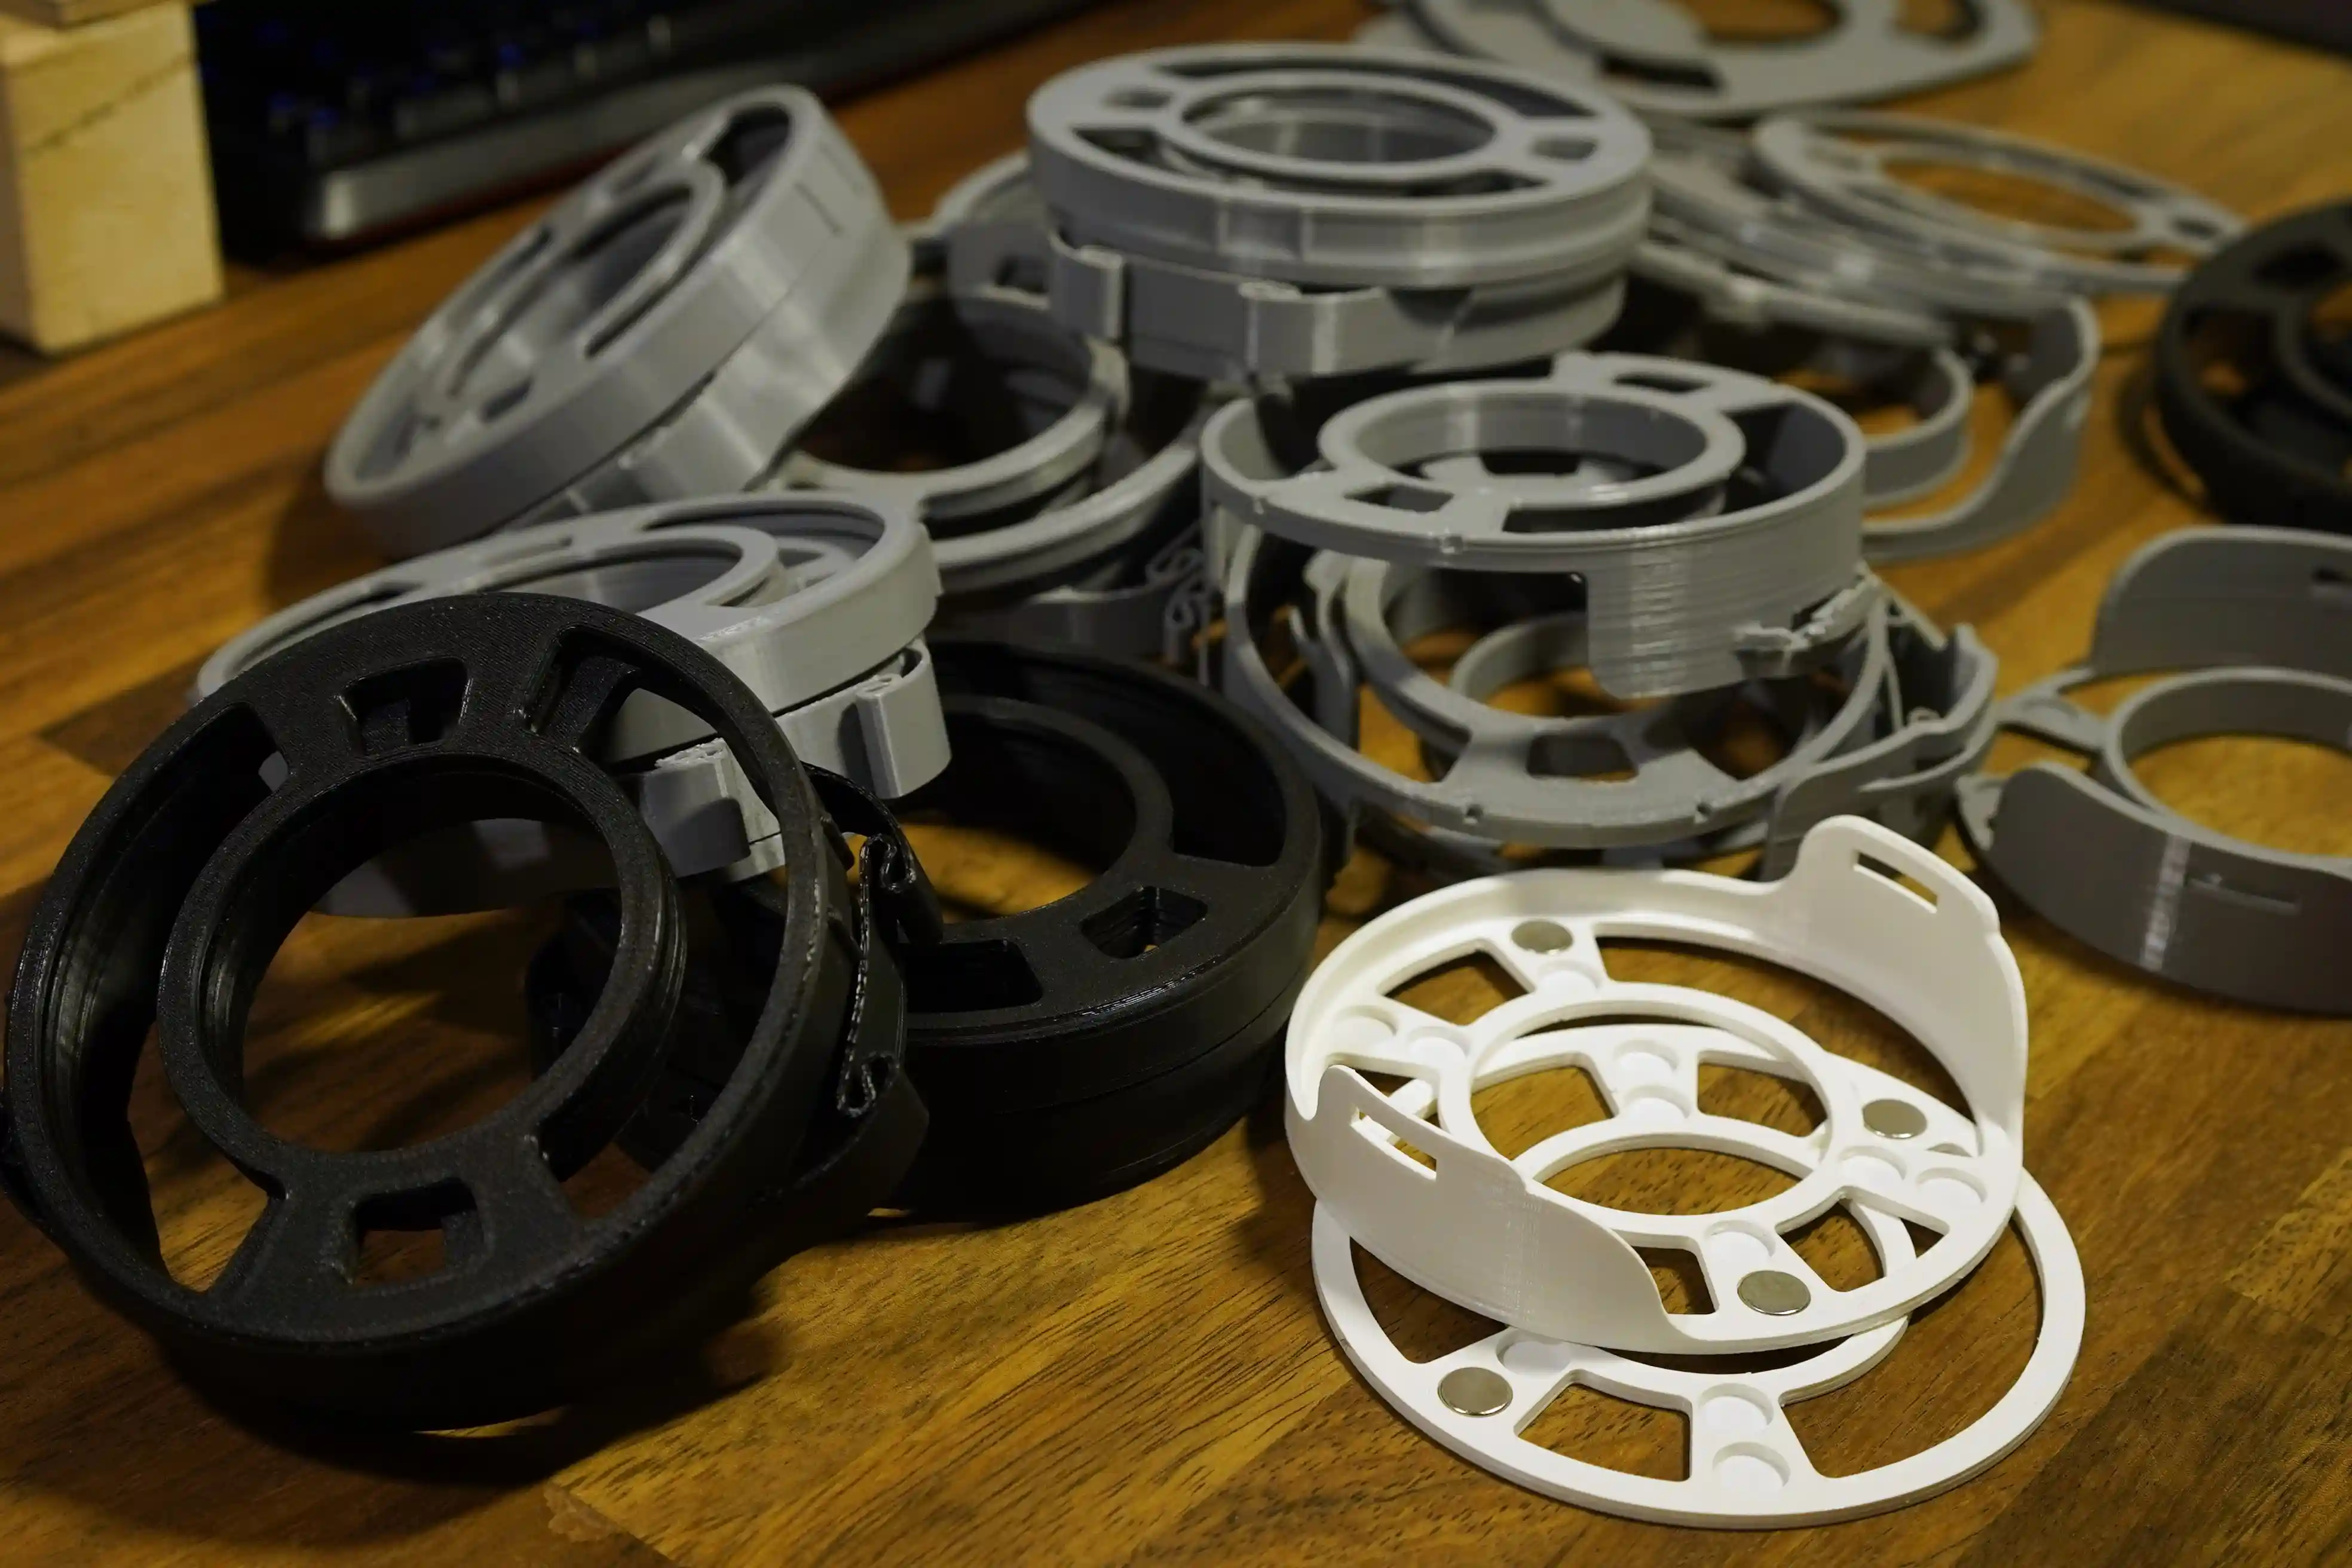
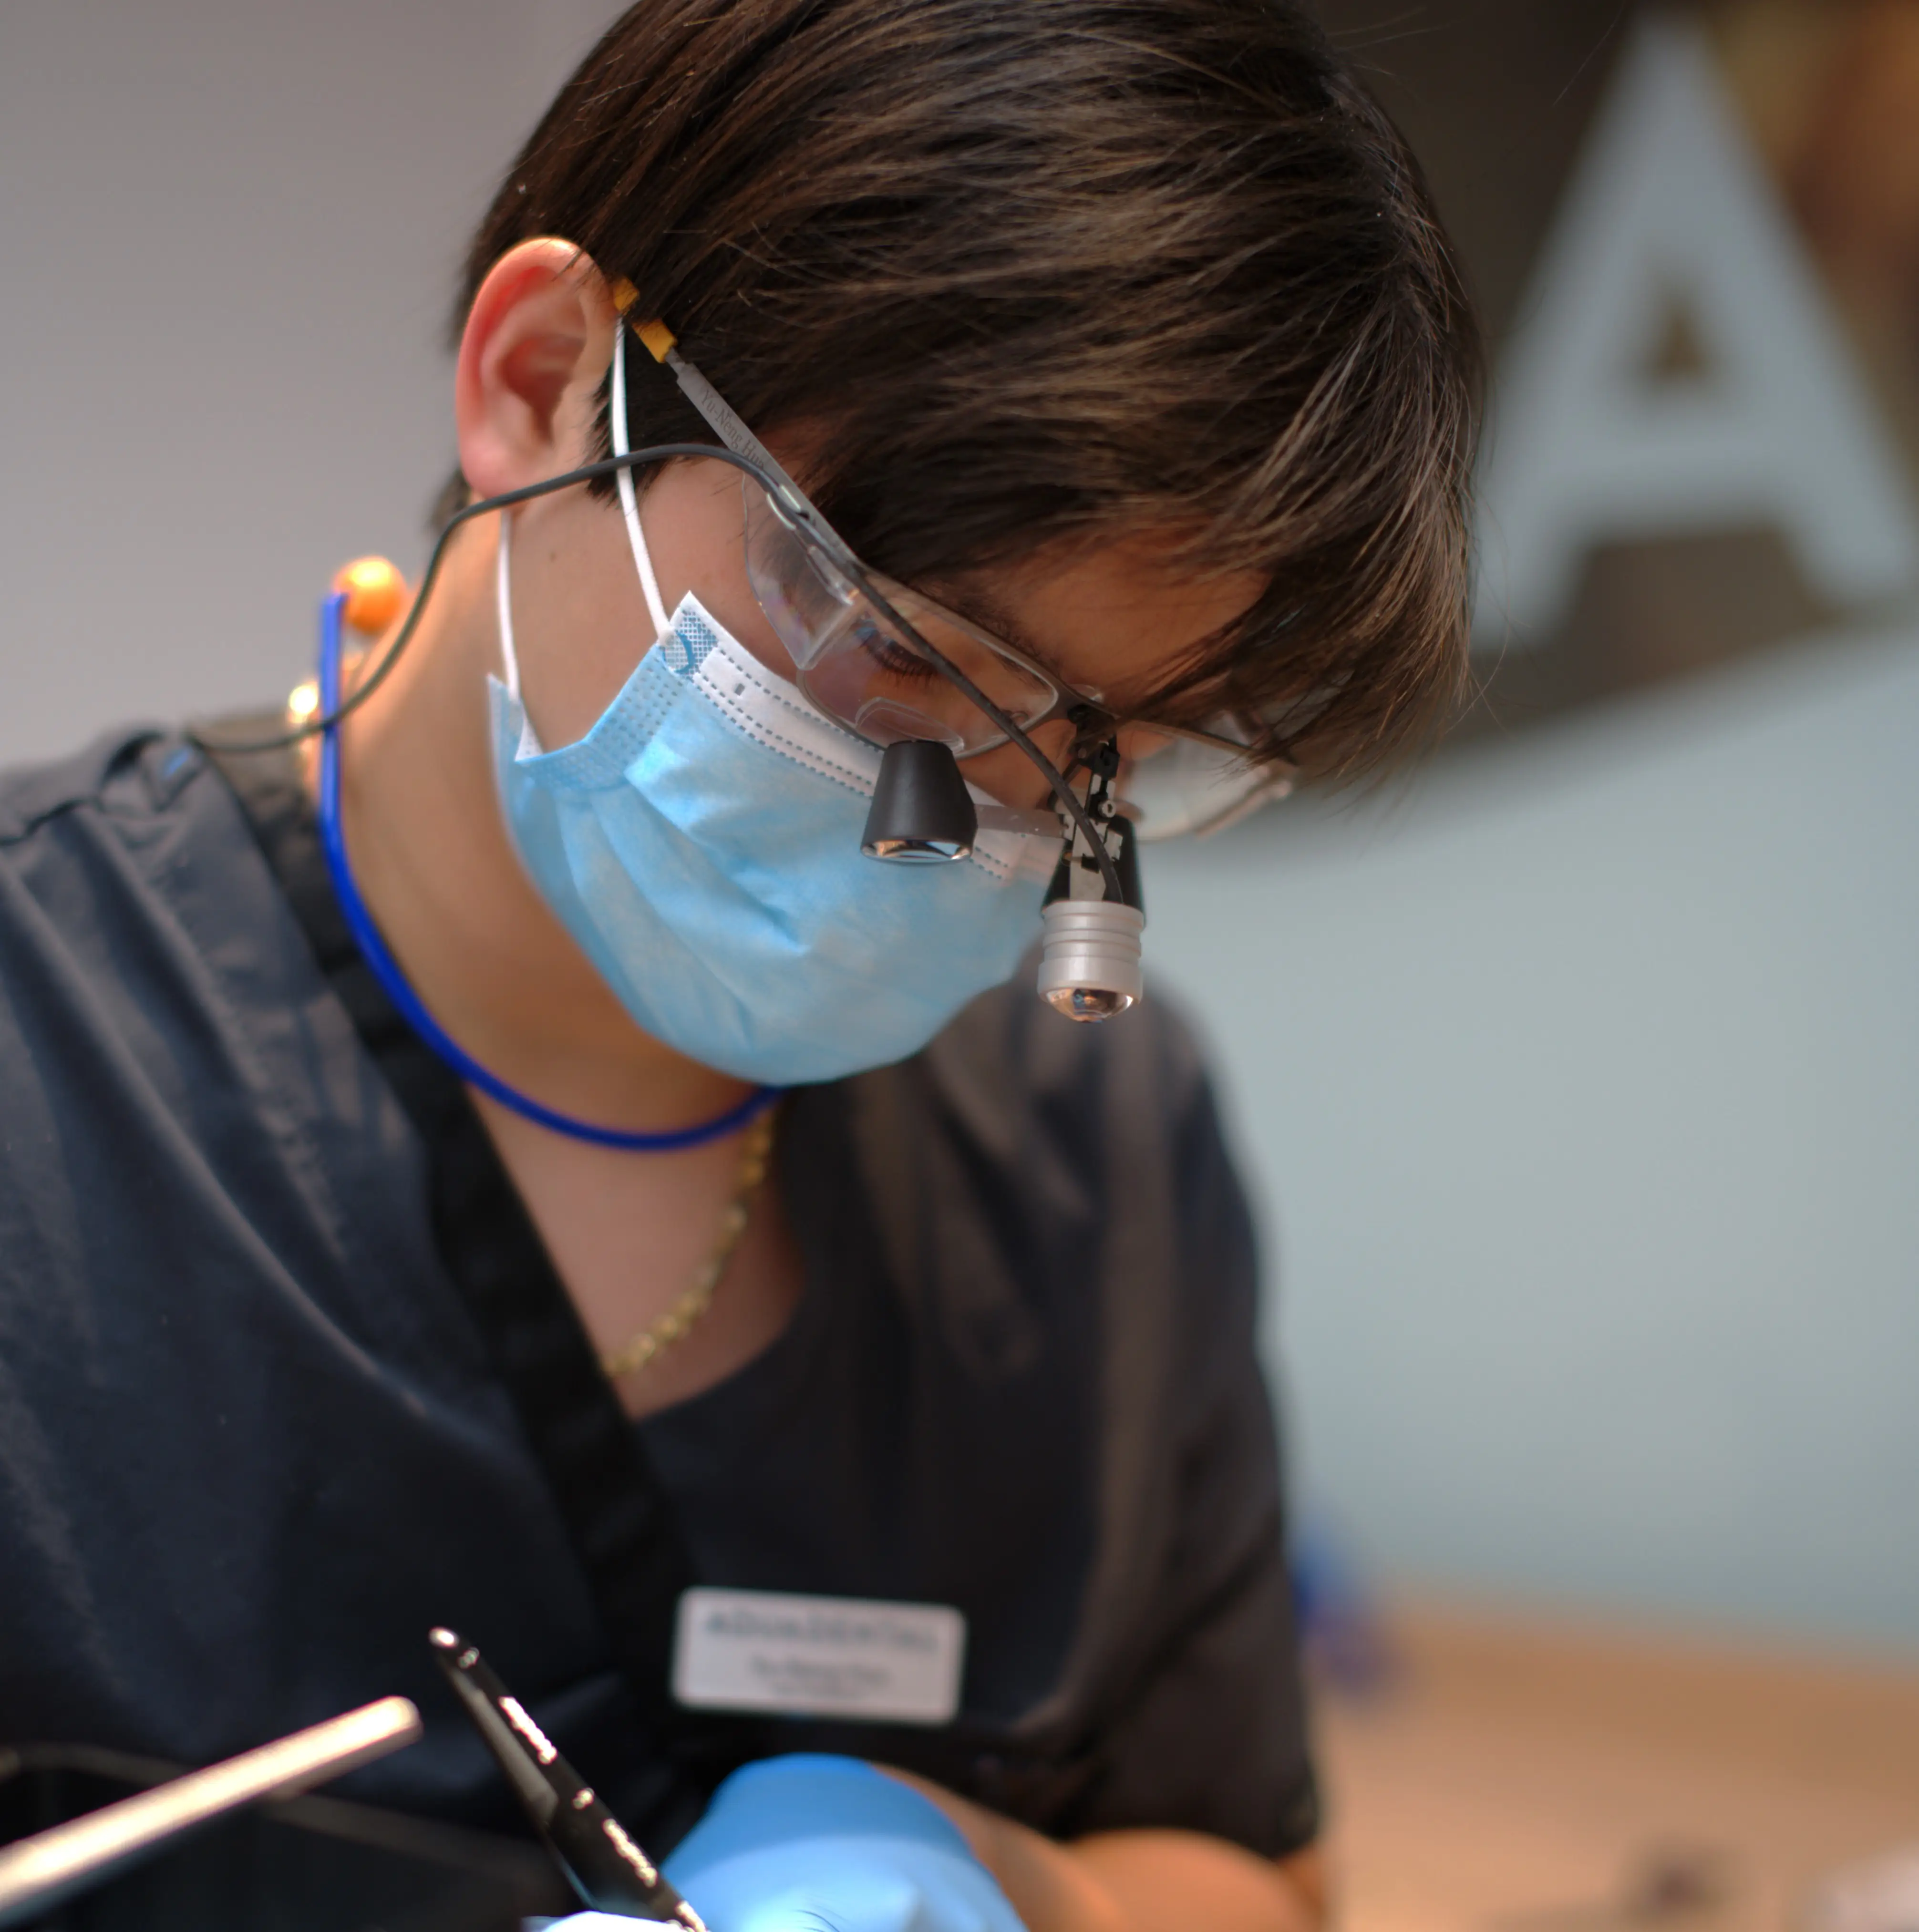
This project has taken much longer than I anticipated, with many more iterations than expected, and it is still ongoing. I know there are many parts I can still improve, simplify, change, or entirely rethink; it is a living project. However, it works and it's a great tool, even if it is a bit over-engineered (hehe). Through this, I have gained invaluable experience and learned plenty of tricks regarding 3D modeling, 3D printing, and general engineering problem-solving. It was time and effort well spent! Special thanks to my to my brother for being my primary user and main source of information on How the tool will be used. Most importantly, thanks to him for planting the seed of this project in my head!